Adding an SMB user
This article includes the steps for adding, editing, and deleting an SMB user.
Prereqs:
-
A Partner Administrator, Partner Agent, and Privileged User can create, edit, and delete SMB users.
SMB user Account Types
When adding a user to your BullPhish ID account, you specify the user’s account type. The account type grants permissions for accessing and working with your BullPhish ID account.
The SMB user account types are:
-
Privileged User: A Privileged User has administrative access limited to their own SMB organization.
-
Standard User: A Standard User has read-only permissions exclusively for their own SMB organization.
For a description of the permissions granted with each role, see the article BullPhish ID user roles.
Welcome email
When a new SMB user is added to your BullPhish ID account, the user will receive a welcome email explaining the steps for accessing the application. The steps required depend on whether KaseyaOne Unified Login is enabled for your organization and whether logging in with KaseyaOne is required.
For more information about the welcome email, see the article Logging into BullPhishID
MSP/MME Organization
This section applies to MSP and MME organizations only and includes steps for adding, editing, and deleting an SMB user.
How to...
- Do one of the following:
- On the MSP Dashboard, select the SMB organization.
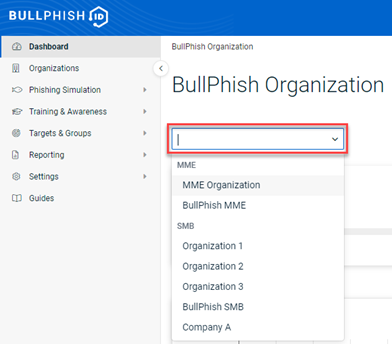
- On the Organizations page, select the SMB organization.
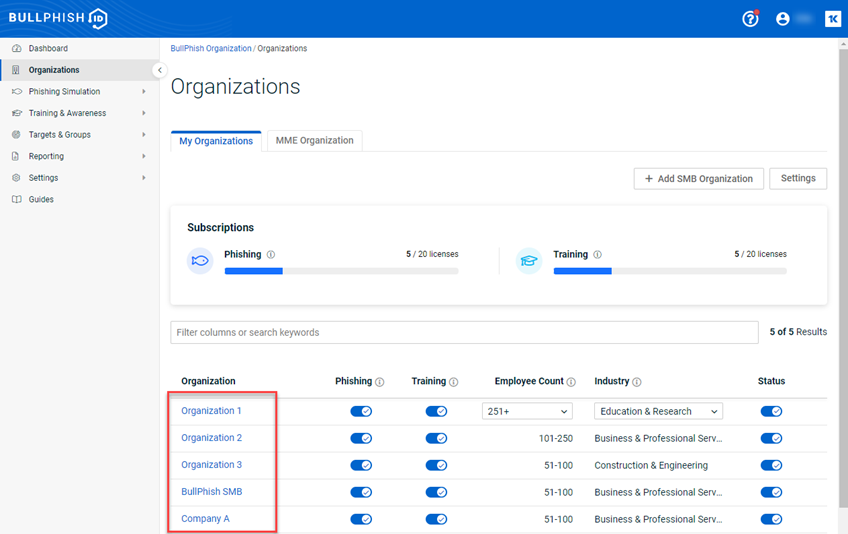
- On the MSP Dashboard, select the SMB organization.
- Click SMB User Access.

- On the SMB User Access page, click + Add User.
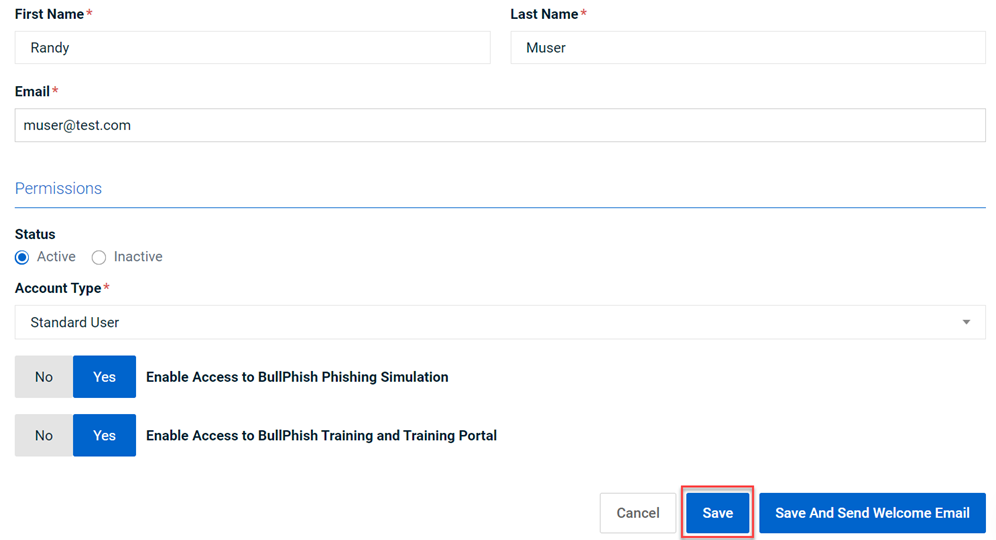
- Complete the First Name, Last Name, and Email fields.
- For the Status option, select Active. This automatically enables user access to the phishing simulation and training functionality. The user's Status must be Active for the user to have access to these features.
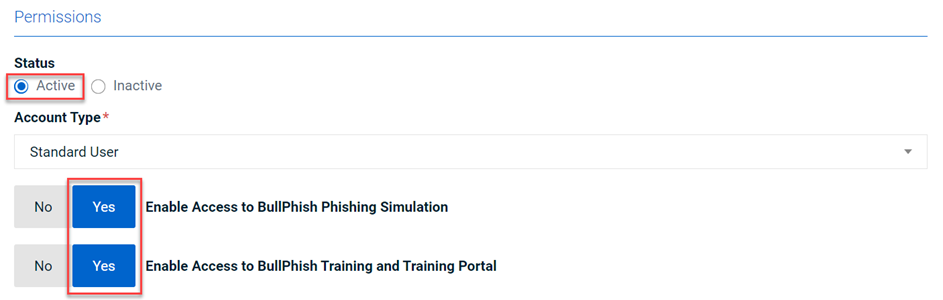
- In the Account Type list box, Standard User is selected by default. If you want to assign the Privileged User account type, click the list box and select Privileged User.
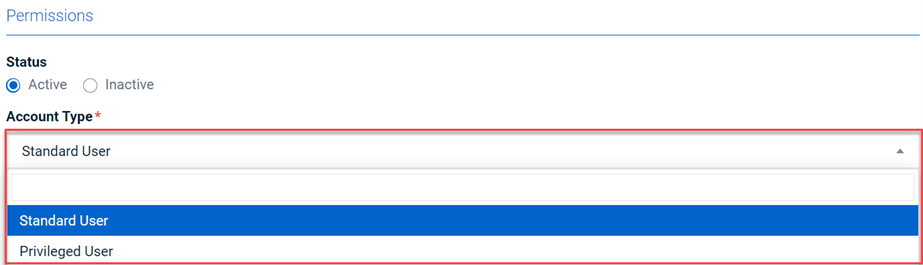
NOTE For a description of the permissions granted with each role, see the article BullPhish ID user roles.
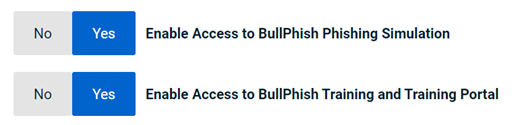
- If desired, you can disable the user's access to the phishing simulation and/or training functionality by selecting No for the applicable option.
- To save the user record and send a welcome message to the user, click Save and Send Welcome Email.
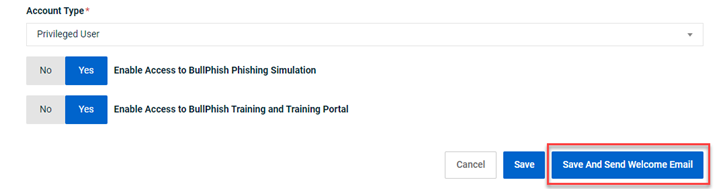
NOTE If you don’t want to send the welcome message at this time, click Save. You can send the welcome message later by following the steps in the procedure Edit/delete an SMB user.
The user is listed in the table and a confirmation message is displayed.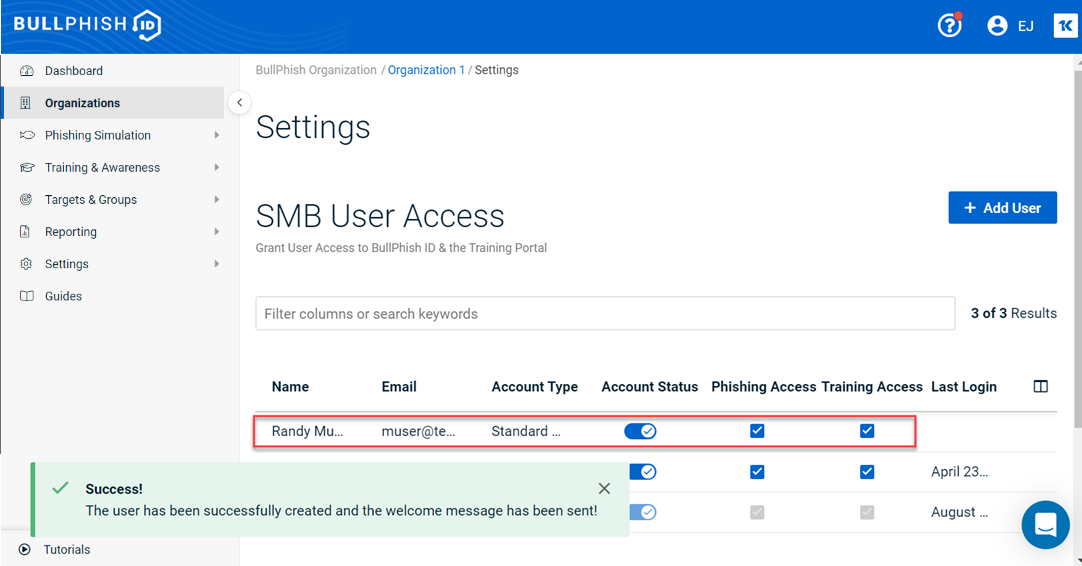
You can edit an existing SMB user’s information or delete an existing SMB user.
- Do one of the following:
- On the MSP Dashboard, select the SMB organization.
- On the Organizations page, select the SMB organization.
- On the MSP Dashboard, select the SMB organization.
- Click SMB User Access.
- To edit an SMB user:
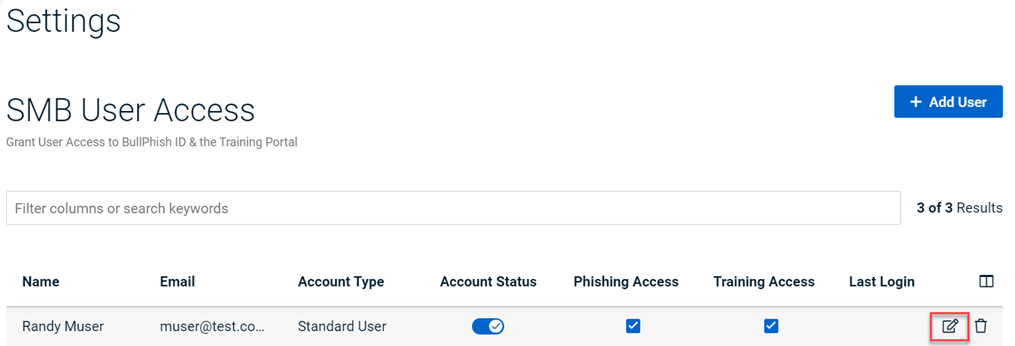
- For the applicable user, hover over the last column on the right and click the Edit icon.
- Make the desired edits and click Save.
NOTE If you did not send a welcome email when the user was created, you can click Save and Send Welcome Email.
- To delete an SMB user:
- For the applicable user, hover over the last column on the right and click the Delete icon.

- In the confirmation modal, click Delete.
SMB Organization
This section applies only to SMB organizations and includes steps for adding, editing, and deleting an SMB user. These actions can be performed by Privileged Users only.
How to...
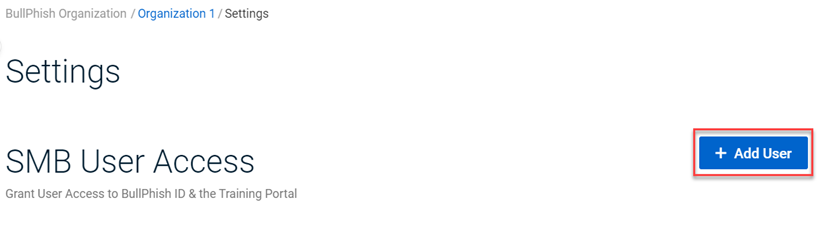
- On your organization’s Dashboard, click SMB User Access.

- On the Settings page, click + Add User.
- Complete the First Name, Last Name, and Email fields.
- For the Status option, select Active. This automatically enables user access to the phishing simulation and training functionality. The user's Status must be Active for the user to have access to these features.
- In the Account Type list box, Standard User is selected by default. If you want to assign the Privileged User account type, click the list box and select Privileged User.
NOTE For a description of the permissions granted with each role, see the article BullPhish ID user roles.
- If desired, you can disable the user's access to the phishing simulation and/or training functionality by selecting No for the applicable option.
- To save the user record and send a welcome message to the user, click Save and Send Welcome Email.
NOTE If you don’t want to send the welcome message at this time, click Save. You can send the welcome message later by following the steps in the procedure Edit/delete an SMB user.
The user is listed in the Settings table and a confirmation message is displayed.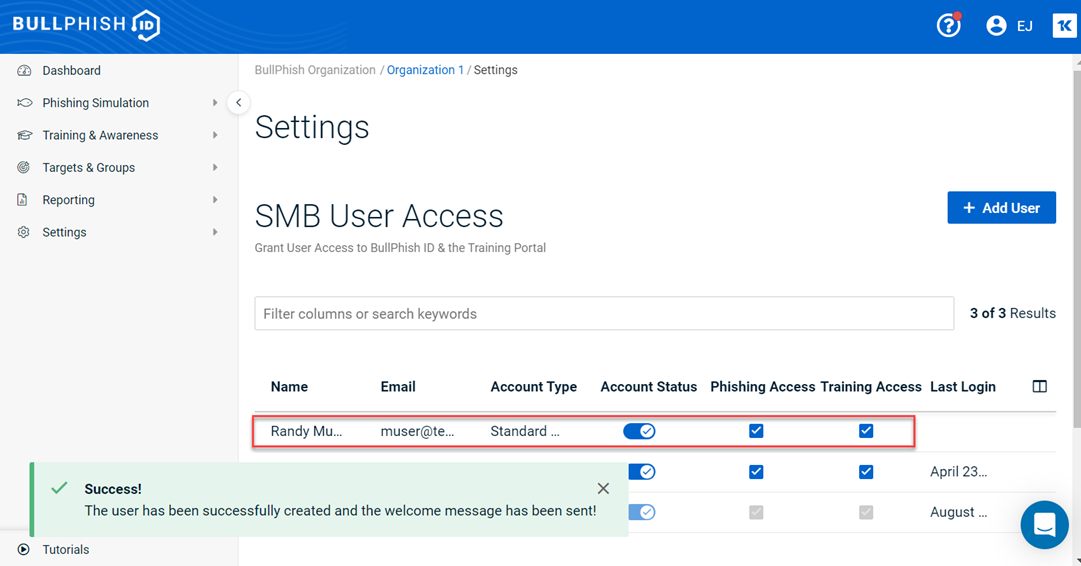
You can edit an existing SMB user’s information or delete an existing SMB user.
- On your organization’s Dashboard, click Add SMB User.
- To edit an SMB user:
- For the applicable user, in the Actions column, click the Edit icon.
- Make the desired edits and click Save.
- To delete an SMB user:
- For the applicable user, in the Actions column, click the Delete icon.
- In the confirmation modal, click Delete.
NOTE If you did not send a welcome email when the user was created, you can click Save and Send Welcome Email.
| Revision | Date posted |
|
Updated screenshots. |
8/22/24 |


