Syncing groups and targets
Edit Directory page
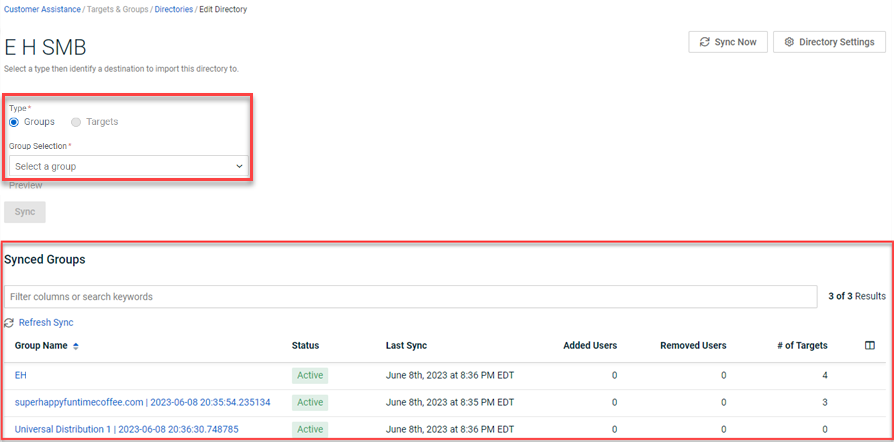
Once the directory has been successfully synced, the organization's Edit Directory page is automatically displayed. However, you can return to the Edit Directory page at any time to work with an organization's groups and targets.
The Groups or Targets you want to import are selected in the Type section. The Synced Groups table includes information for groups that are currently synced:
- Group Name: Name of the synced group.
- Status: Possible values are Active, Syncing, and Inactive.
- Last Sync: Date and time the group was last synced with active directory.
- Added Users: Number of users added to the group during the last sync.
- Removed Users: Number of users removed from the group during the last sync.
- # of Targets: Total number of targets currently in the group.
Inactive Status
The Status of a group may indicate Inactive in the following situations:
- When a user enters expired active directory credentials, the synchronization cannot be completed successfully.
- When a user removes permissions on the active directory site.
- Synchronization is unsuccessful.
How to...
- Navigate to the Edit Directory page:
NOTE If you have just finished syncing BullPhish ID with an active directory, you are automatically taken to the organization's Edit Directory page.
- In the navigation menu, select Targets & Groups > Directories.
- Click the applicable organization.

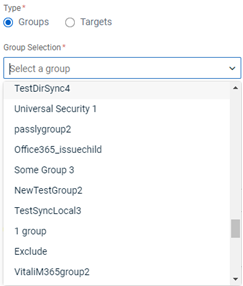
- In the Type section, Groups is selected by default. In the Group Selection list, select the desired group.
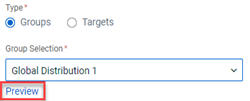
- Click Preview to see the list of targets in the group. A maximum of 20 targets can be listed.
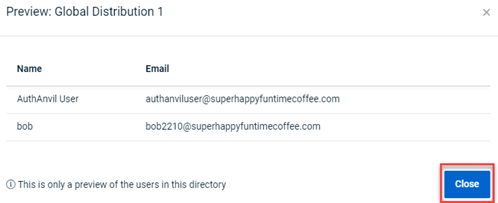
- In the Preview window, click Close.
- Click the Sync button.
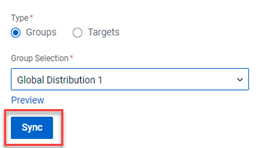
The group is listed in the Synced Groups table. If it is not, click Refresh Sync.
Instead of syncing individual groups, you can sync all of an organization's users at once. You create a group name for the users.
- Navigate to the Edit Directory page:
Note: If you have just finished syncing BullPhish ID with an active directory, you are automatically taken to the organization's Edit Directory page.
a. In the navigation menu, select Targets & Groups > Directories.
b. Click the applicable organization.
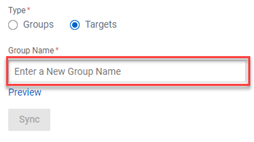
- In the Type section, select Targets.
- In the Group Name box, enter a name for the group.
- Click Preview to see the list of targets in the group. A maximum of 20 targets can be listed.
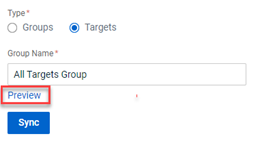
- In the Preview window, click Close.
- Click the Sync button.
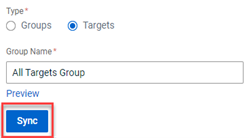
The group is listed in the Synced Groups table. If it is not, click Refresh Sync.
Once targets are successfully imported, when you hover over the Targets radio button, you will see a notification Targets have been imported under the group: name of group.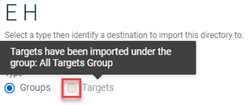
You can navigate to the group's page by selecting the group name in the Synced Groups table. 
NOTE You can also navigate to the group's page by selecting Targets & Groups > Groups in the navigation menu and clicking the name of the group.
Sync Now
BullPhish ID data that is synchronized with active directory is resynchronized automatically once a day. Any group and target updates made in active directory are updated in BullPhish ID.
With the Sync Now button, you can perform a group sync on demand. When Sync Now is clicked, the status of all groups changes to Syncing.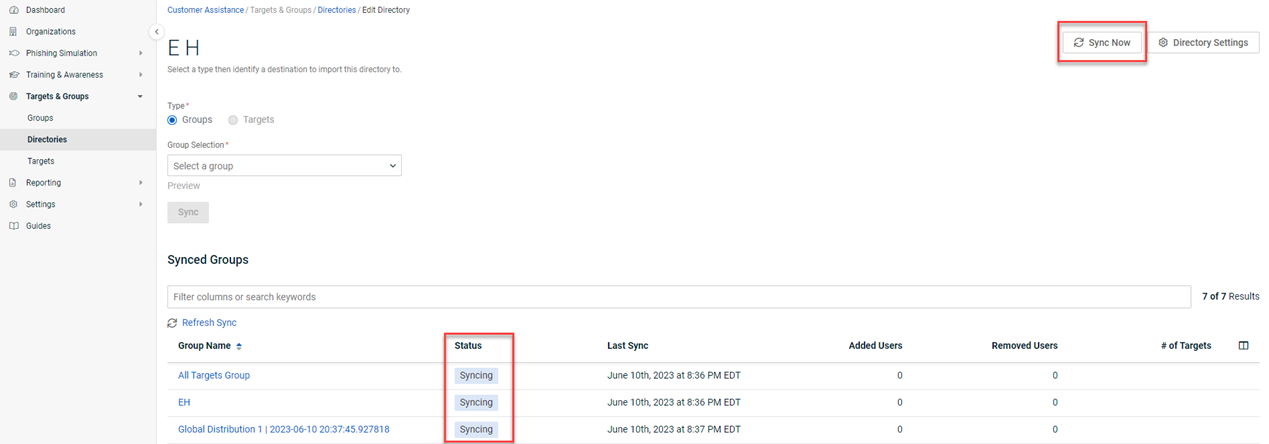
Click the Refresh Sync button to update the table data. Any group and target updates made in active directory are updated in BullPhish ID. The Status for each group should indicate Active. The Last Sync, Added Users, Removed Users and # of Targets information is updated, if applicable.
NOTE Groups included in a campaign are automatically synchronized right before the campaign starts.
Resyncing or Deleting one group
You can resync one group at a time by clicking the resync icon in the last column.
To remove the synchronized connection between a group and its active directory, in the last column click the remove icon. 
In the confirmation modal, click Confirm.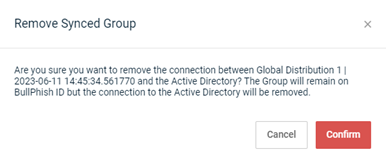
NOTE The removed group will still be available on the Groups page under the associated organization.


