How do I create a Sending Profile?
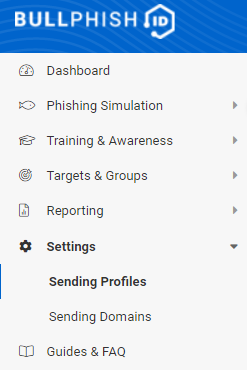
You can create a new sending profile from the Sending Profiles page, found under Settings in the left navigation menu.
Prerequisites
You must meet the following requirements to create a new sending profile:
- You should be any one of the following users(s) - Partner Admin/Partner Agent/ SMB Privileged User(s)/Internal User(s).
- The status of the domain should be Verified.
Create new profile
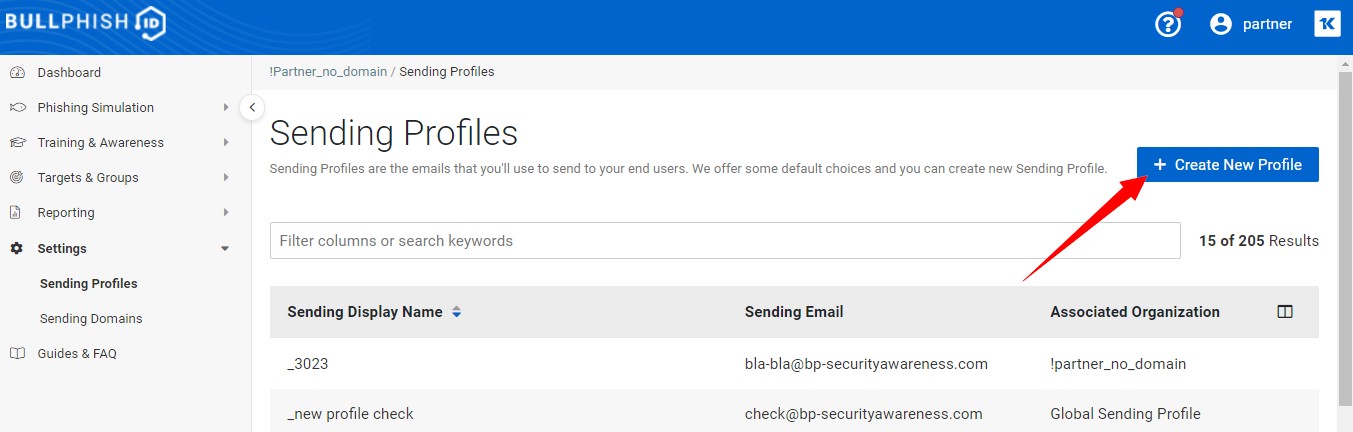
- Log In to the BullPhish ID portal.
- Click Sending Profiles under the Settings tab

- Click + Create New Profile.

- Choose an Associated Organization for a specific domain from the dropdown.
- Provide the email provider name in the Display Name field.
- Provide the profile name in the Profile Address. For example, test11.
- Select your domain name from the Profile Domain dropdown. For example, kaseyatest.com.
- Click Create.

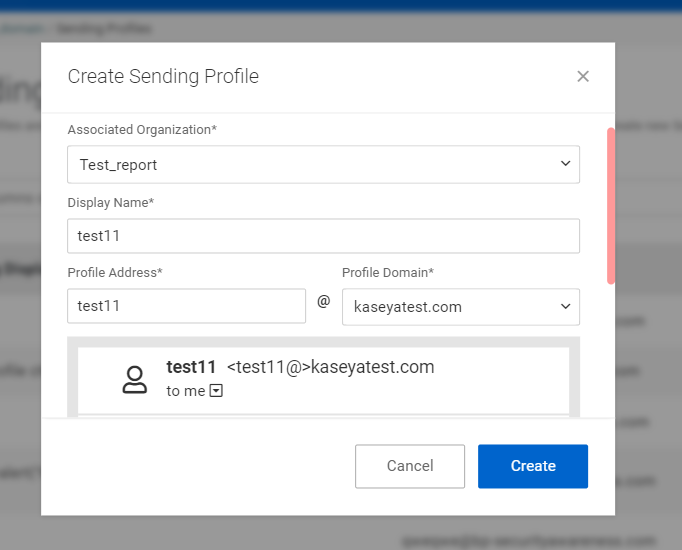
NOTE If you choose to cancel, your changes will be discarded, and all progress will be lost.
Filters usage
You can sort the Sending Profiles by applying Sending Display Name filter.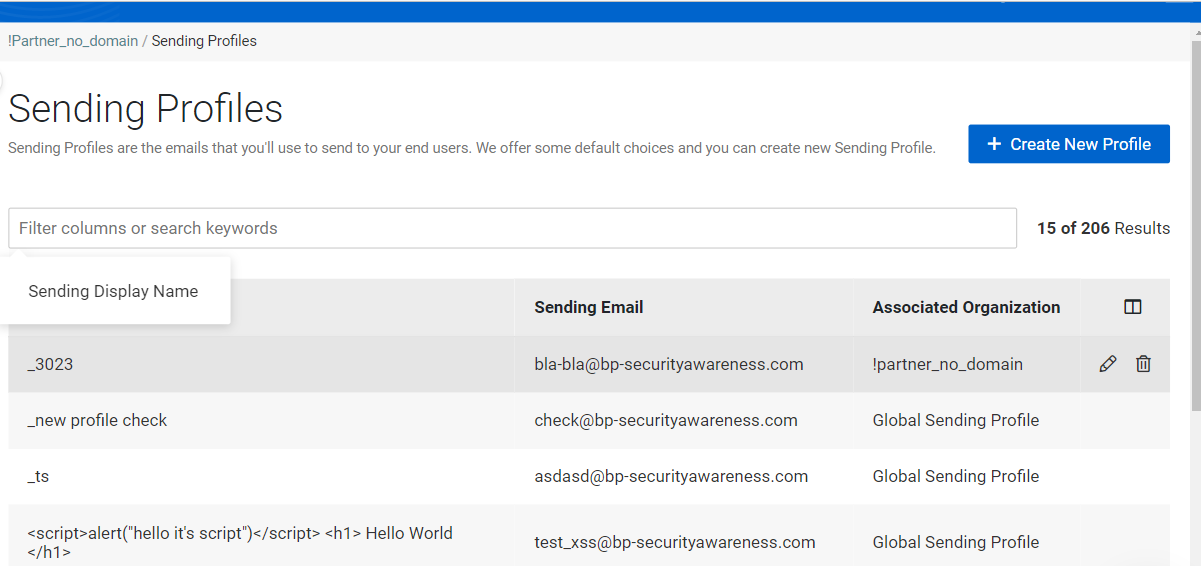
If you want to fetch sending profiles information using the Sending Display Name, please follow the instructions:
- Place the cursor in the filter search box
- Select the Sending Display Name filter.
- You can directly provide the sending display name in the search field without an additional pop-up box: text11.
- Click Apply.
You will get the following search result as per your applied filter.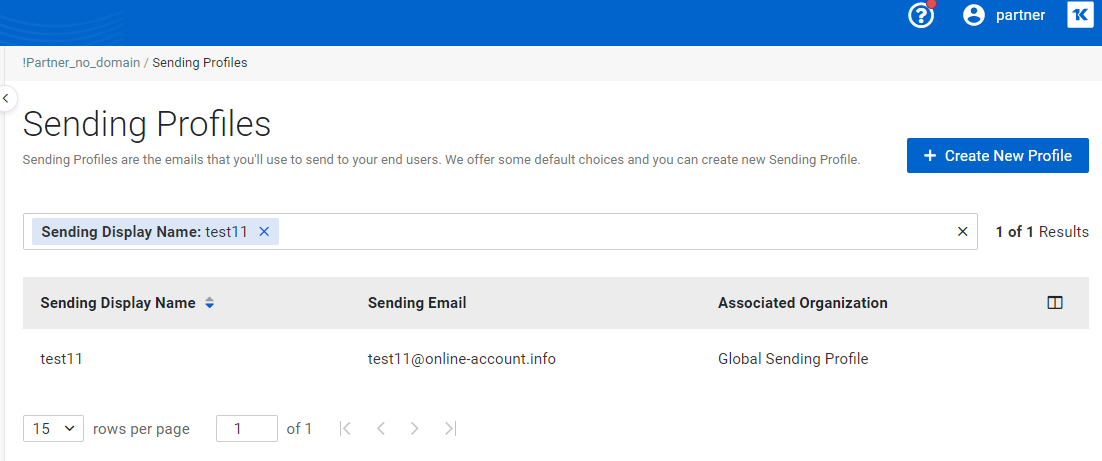
The Edit page icon  allows you to edit the Edit Sending Profile page.
To delete a sending profile, you must select a new sending profile to replace the deleted ones. It will allow the application to replace sending profiles in all places.
- Select the sending profile for replacement.
- Click Delete And Replace.

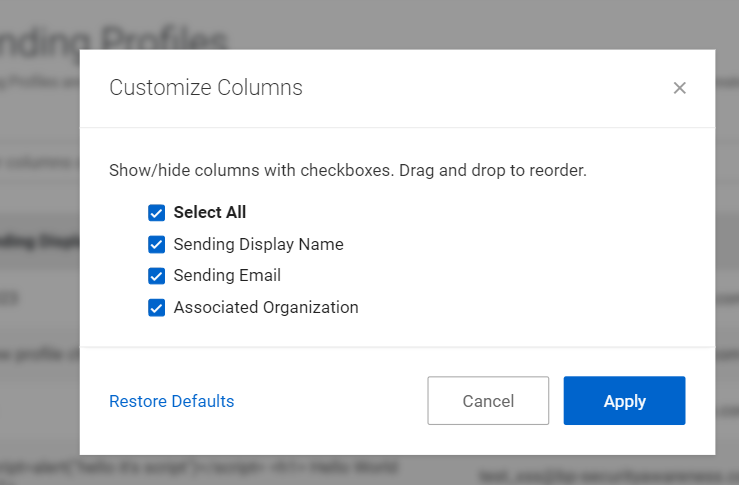
Click the Customize column icon  . A pop-up modal window appears on the screen with the available columns.
NOTE You can view all columns on the table by default.
- You can show/hide columns using checkboxes.
- You can drag and drop the columns list by placing the cursor on the list.
Click Restore Defaults to go back to the default settings.
Select columns that you want to show on the table and click Apply. Once you apply changes, it will save permanently for you until you wish to change again.