How do I customize a training course email template?
To locate your training template, select Training & Awareness on the left navigation panel, followed by Training Portal.
How do I create a template for all my organizations?
As a parent organization, you have the ability to create a training course invitation that will be applied to all child organizations.
To begin creating your training course invitation email template, select Training & Awareness > Training Portal and click the Email Templates tab.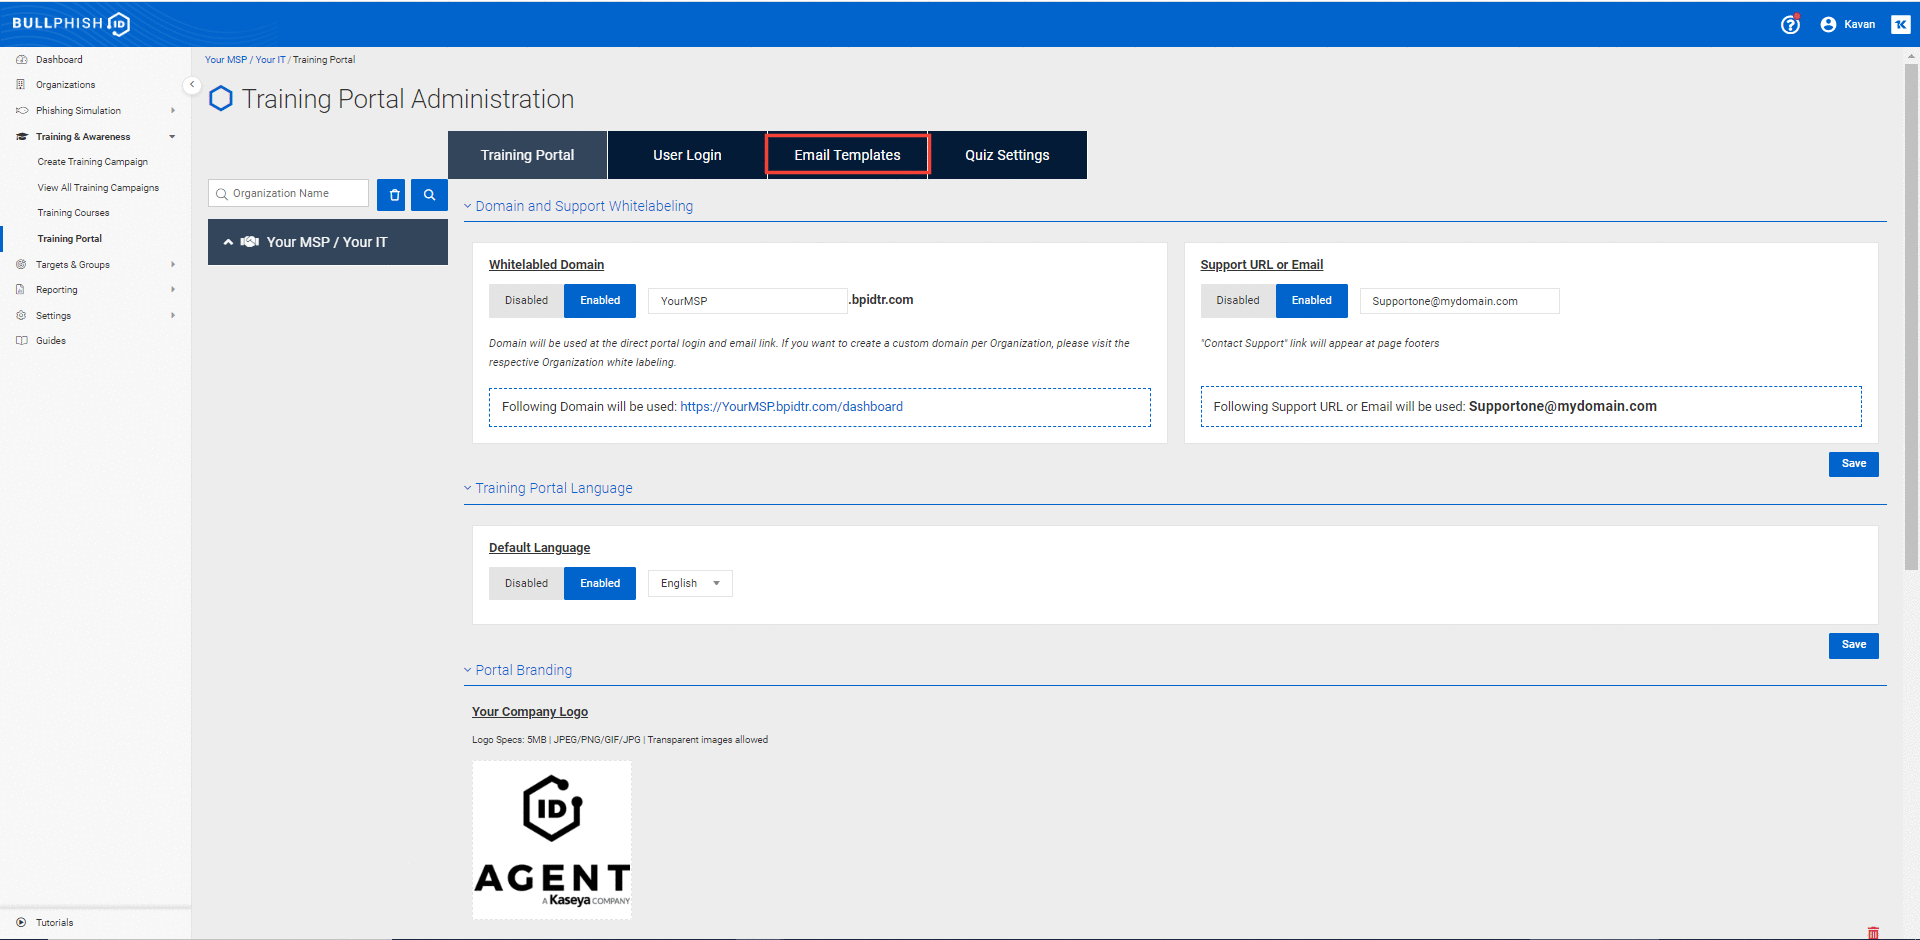
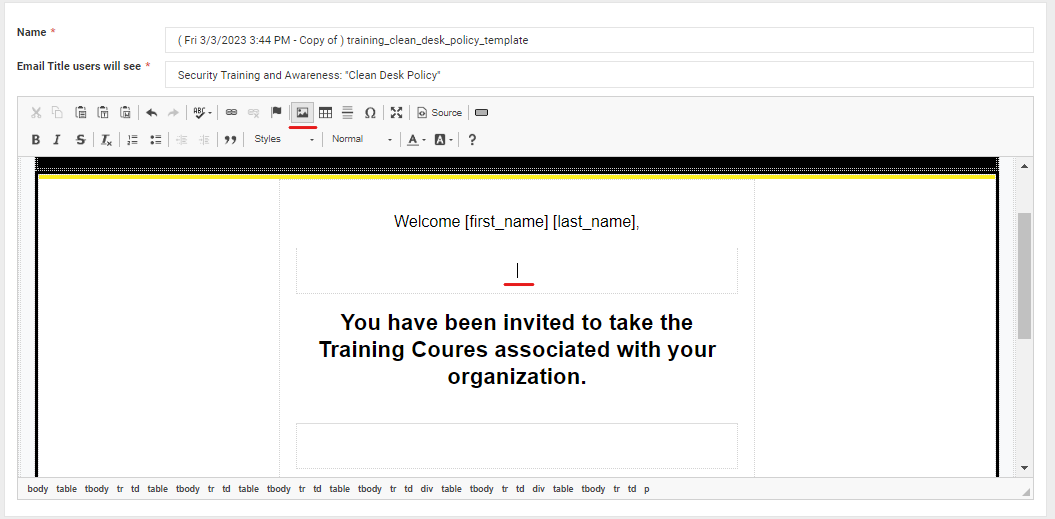
When you are on the Email Templatestab, you will see the following fields:
- Existing Template [Yes/No]: Select Yes if you would like to reuse existing templates or 'no' if you would like to create a template from scratch.
- Active Custom Email Template [Yes/No]: Select Yes if you would like to activate this template and the next training campaign email will be sent using this template. Select 'No' if you would like to save it as draft and our default template will be used in the email for training course invitation.
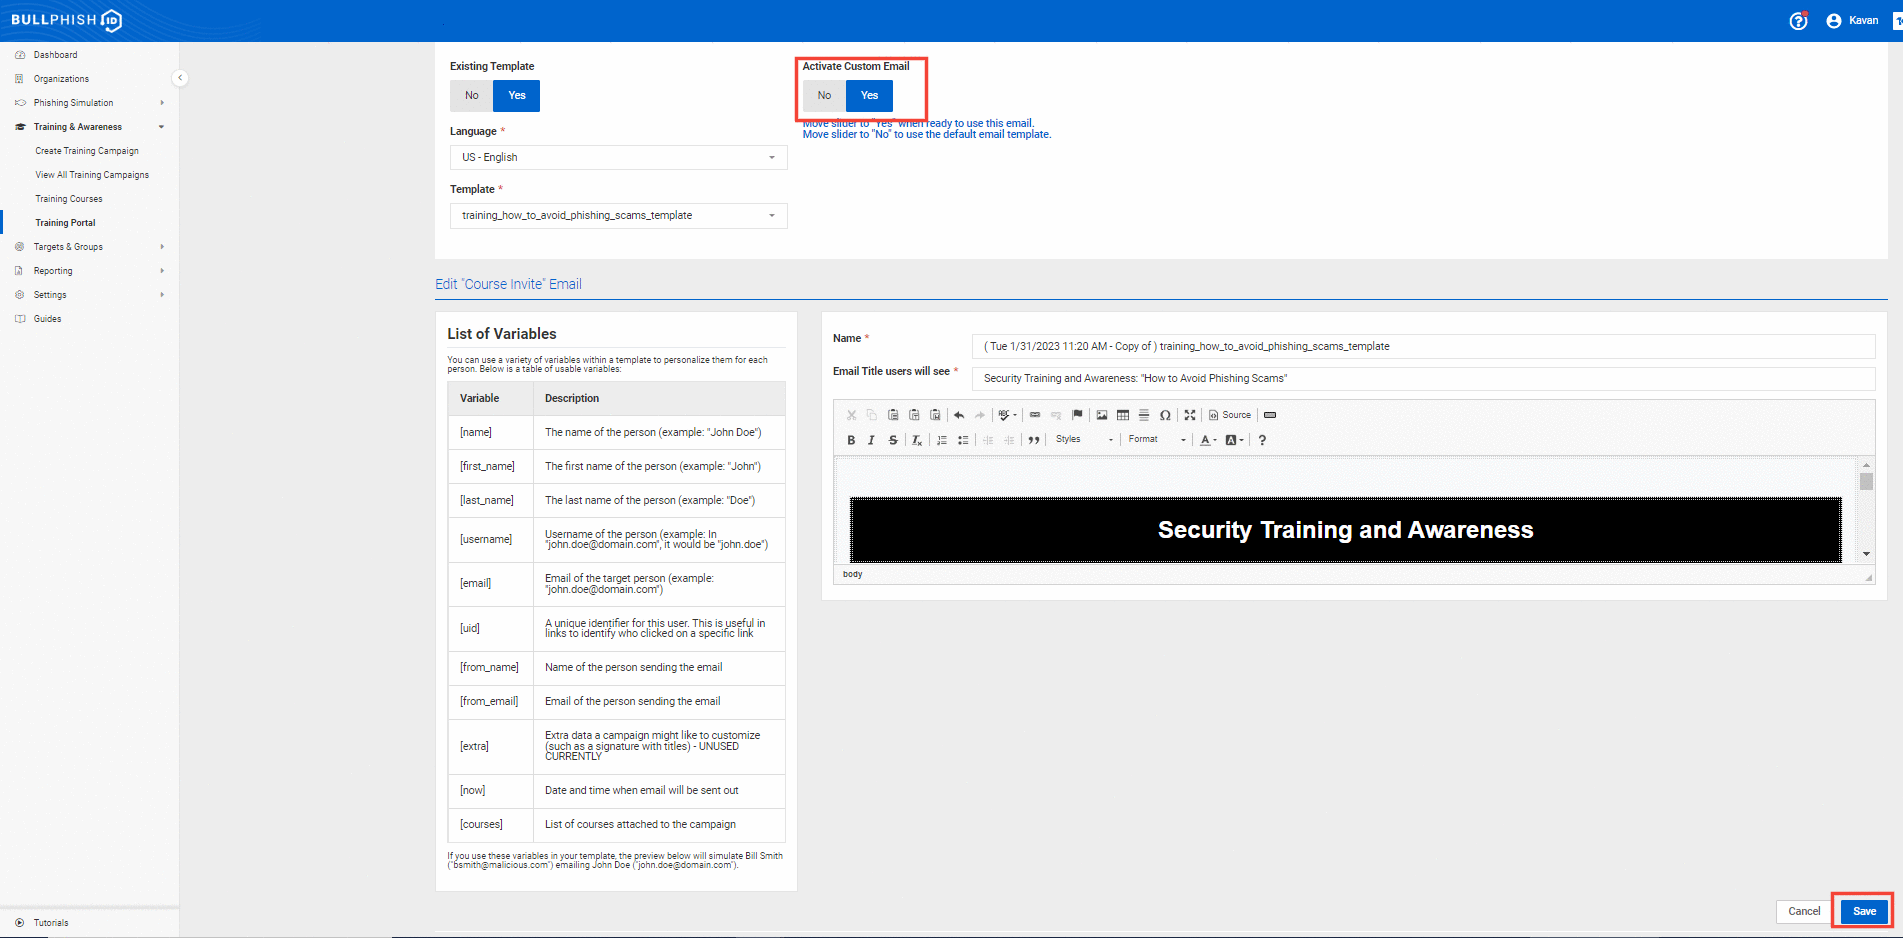
- Language [Dropdown]: The language dropdown will allow you to change the language of the template along with the options available within the Existing Template field.
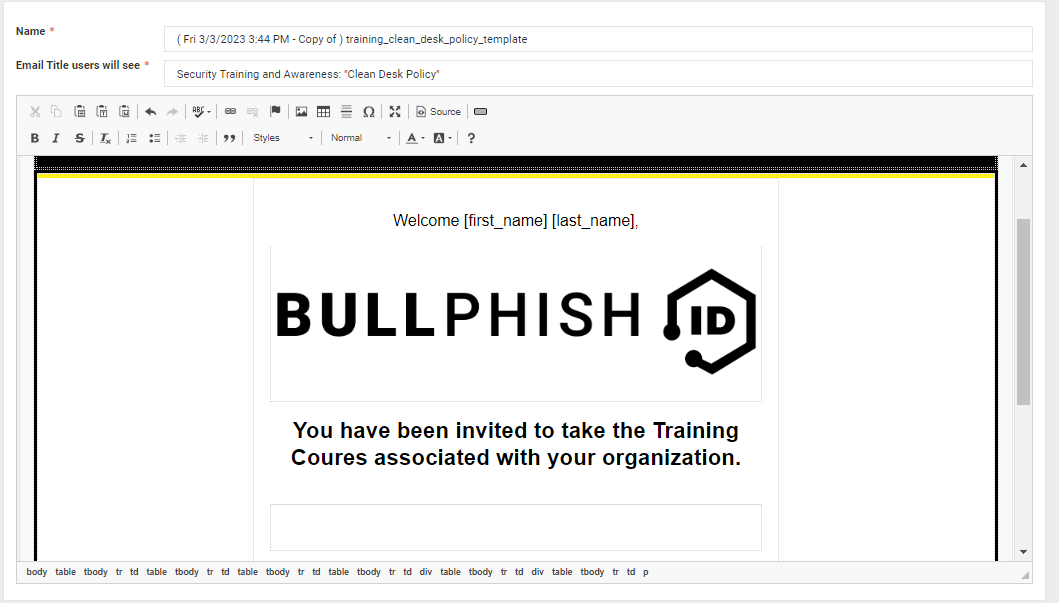
- Name [Mandatory field]: The Name field is for your organization to distinguish the template on BullPhish ID.
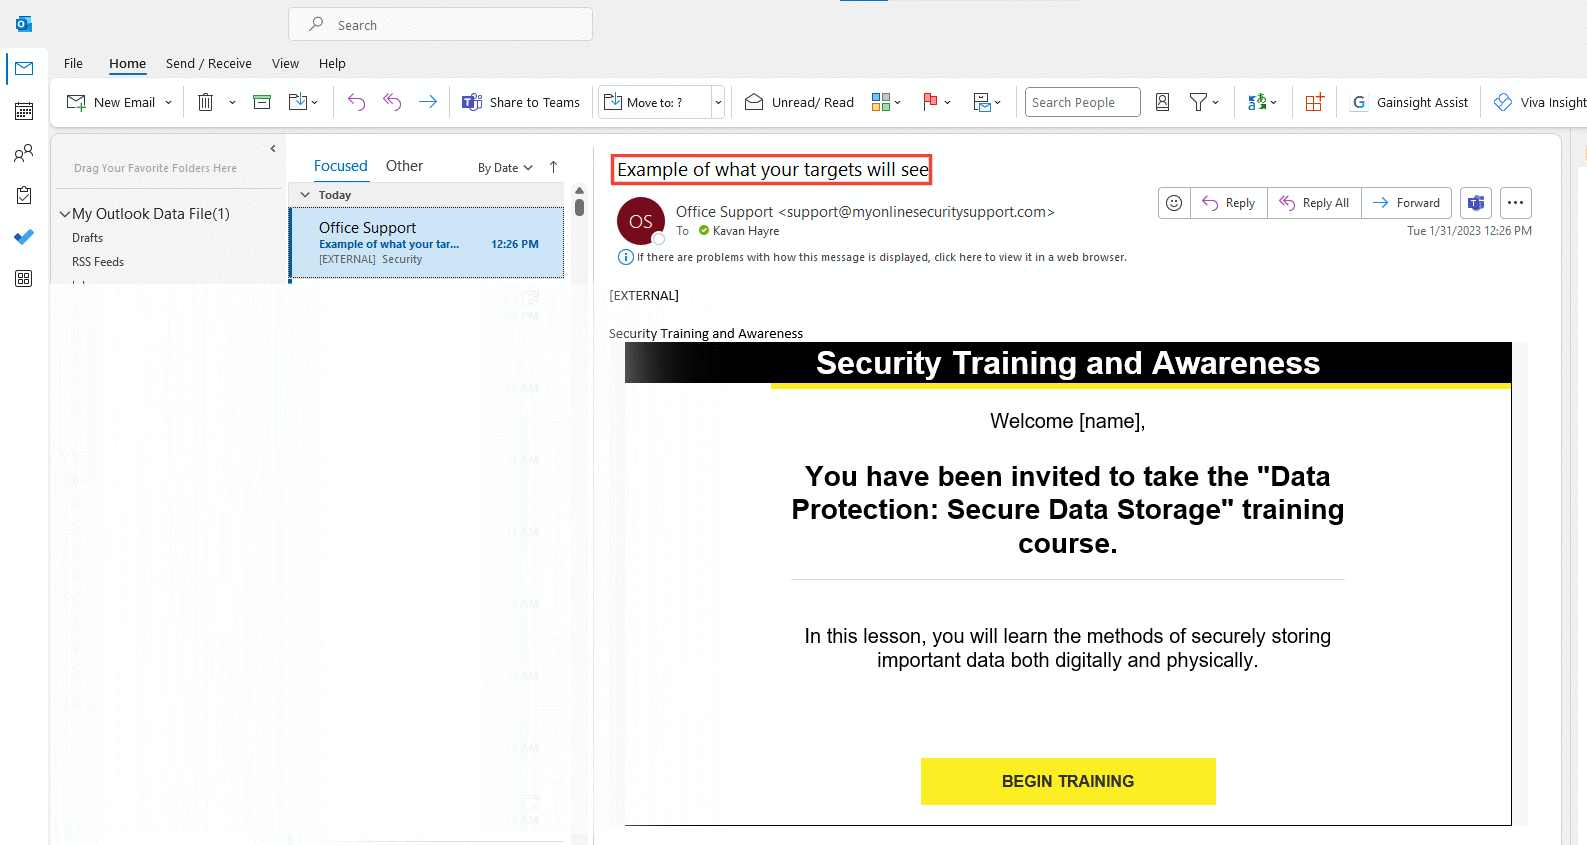
- Email Title Users Will See [Mandatory Field]: The Email Title Users Will See is what targets will read as their email notification.
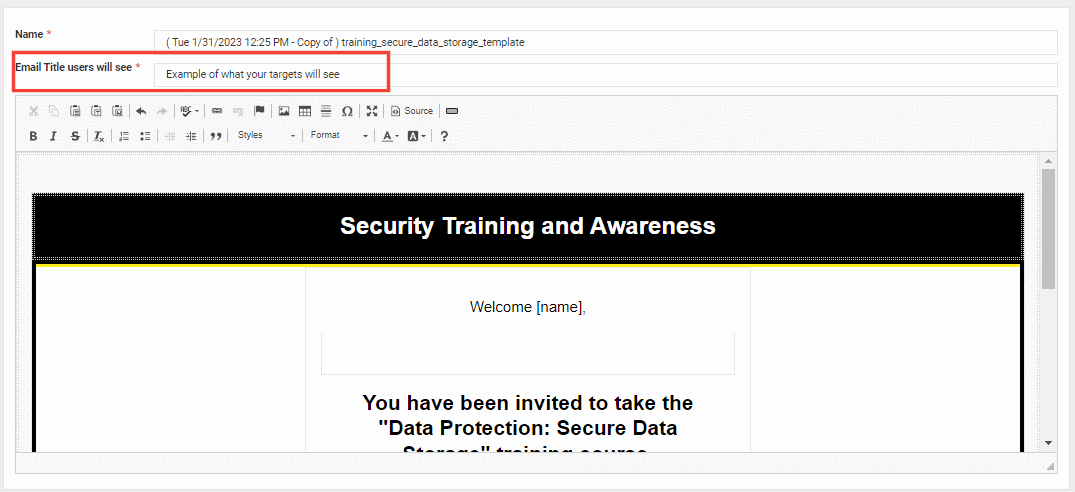
- Email Body [HTML]: This is where the template is displayed and edited.

Existing Template
The Existing Template field gives you the option of either creating a template yourself, using a global training template provided by BullPhish ID, or using a template previously created by your organization.
When the Existing Template field is toggled to yes, a new dropdown will appear below the Language field by the name Template*. Selecting the dropdown will show a list of training templates either created by your organization admin or BullPhish ID. After selecting the language and template, the following fields will be automatically filled with the ability to edit them further.
- Name: A name is automatically assigned to the selected template. Any changes made to the template will be saved under the new name. You can rename the template if you want.
- Email Title Users Will See: This is the email title that your end users will see.
- HTML body: On the HTML body, a pre-made template will be displayed, allowing you to edit the content and insert pictures.
When the Existing Template field is enabled, a new dropdown will appear below the Language field by the name of Template. Selecting the dropdown will show a list of training templates either created by the Parent organization or BullPhish ID. When your decision is made and a template is selected, the Name, Email Title Users Will See, & the HTML body will be automatically filled with the ability to be edited further.
HTML Body
The HTML Body is where the user can edit an existing template or create their own by either using the HTML source code located on the Tool Bar or adding information directly on to the body.
To create a valid Training Email Template, a link must be embedded within the text. To create a valid link, follow the steps below:
- Either use an existing template or create one from scratch, in our example we will create one from scratch.
- Add the Body of your email using the Variables listed to the left.
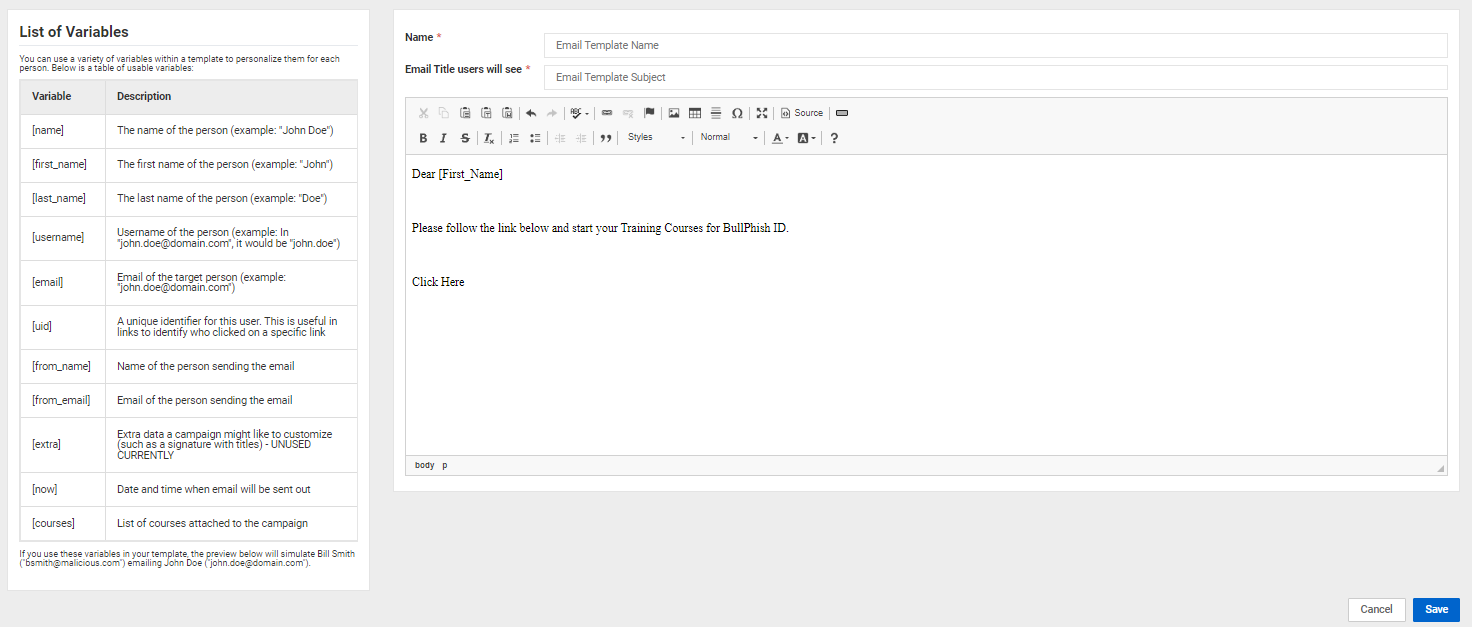
- After your Content is added, highlight your selected section to be created as a link.
- Select the Link icon on the tool bar.

- A modal will appear. Make sure the Protocol field is Other and add {{.URL}} for the URL field. This URL token establishes the link to be directed to the Training portal.
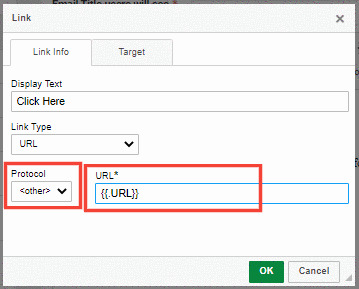
- Select OK and you will have a valid link for your email.
Once you are satisfied with your new template, you can Save and Send Test Email or just save immediately.
IMPORTANT When an active Training Template is saved, it will automatically apply to all child organizations.
How do I create a template for an individual organization?
To create a Training Email Template for a specific SMB, click on the arrow head next to your parent organization name to see the list of child organizations. Here, you may search for your specific organization via Search Bar.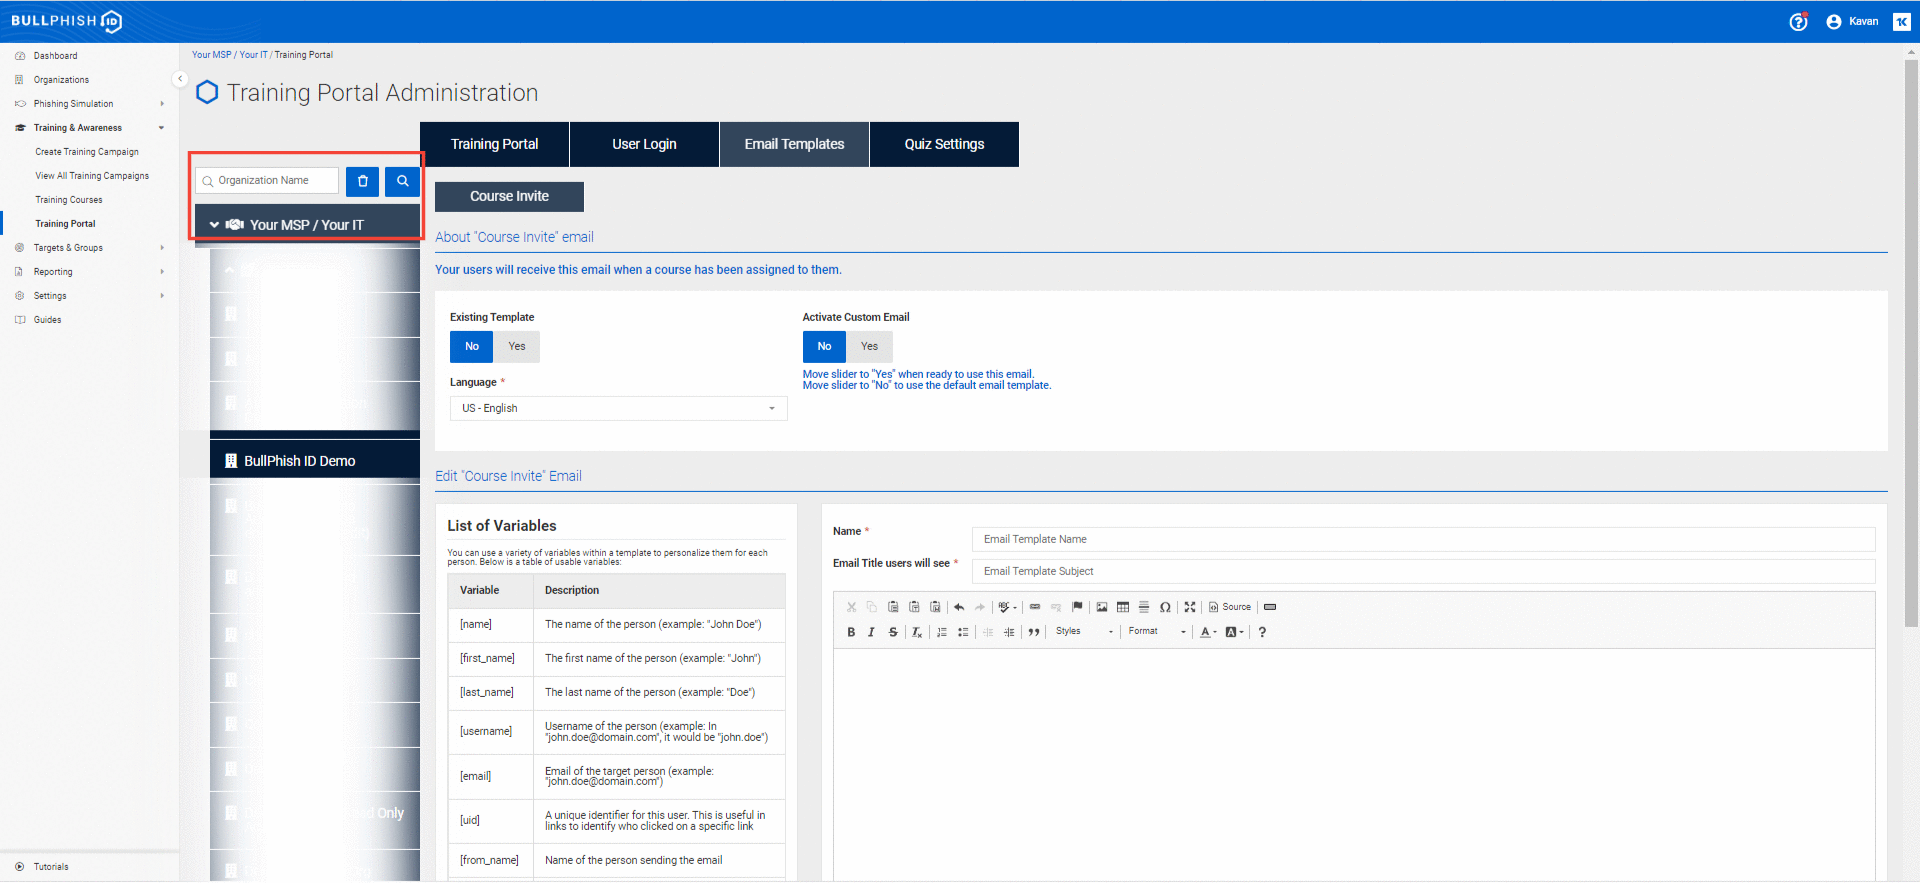
Once an organization is selected, you will notice that it is now highlighted in the list. All tabs - Training Portal, User Login, Email Templates, Quiz Questions can now be configured for this SMB/ child organization. Please note that any changes made to the SMB/ child organization will override the parent organization settings.
How do I add my logo to the template?
These are the following steps to add your logo to an email template.
- Go to https://www.base64-image.de/ and select Drag & Drop Images anywhere, Click Here.
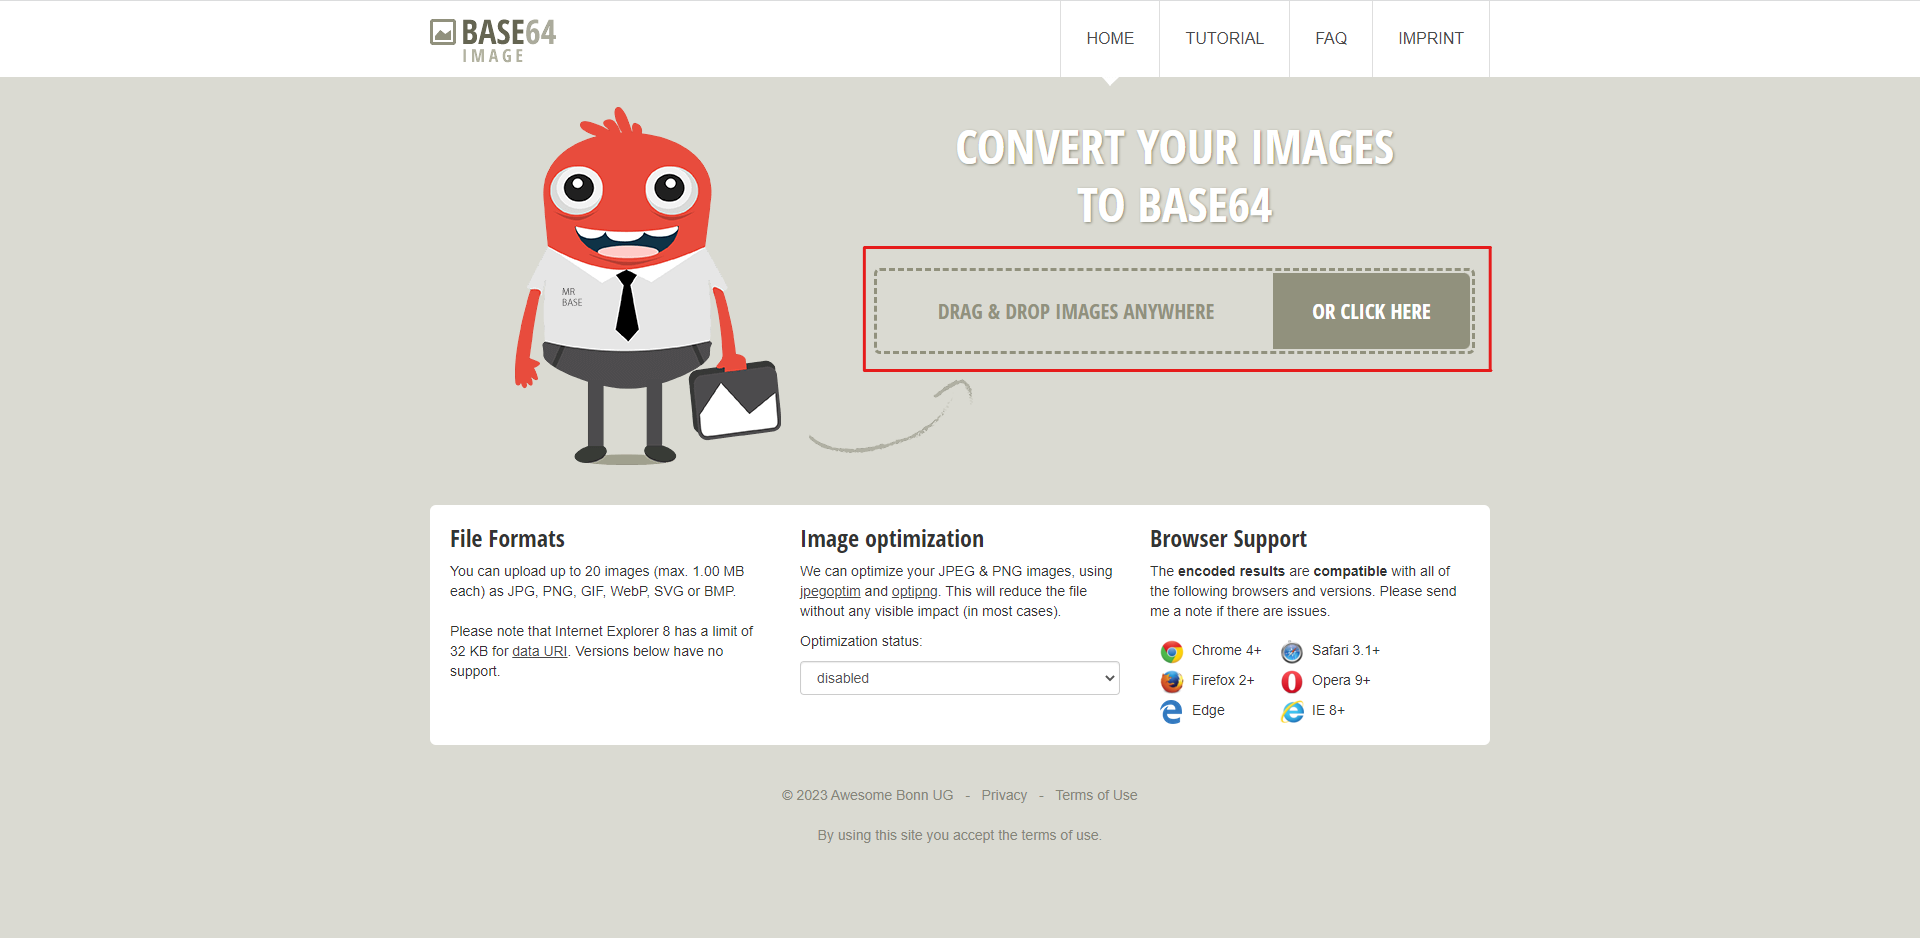
- Select the image or logo you wish to use on the template.
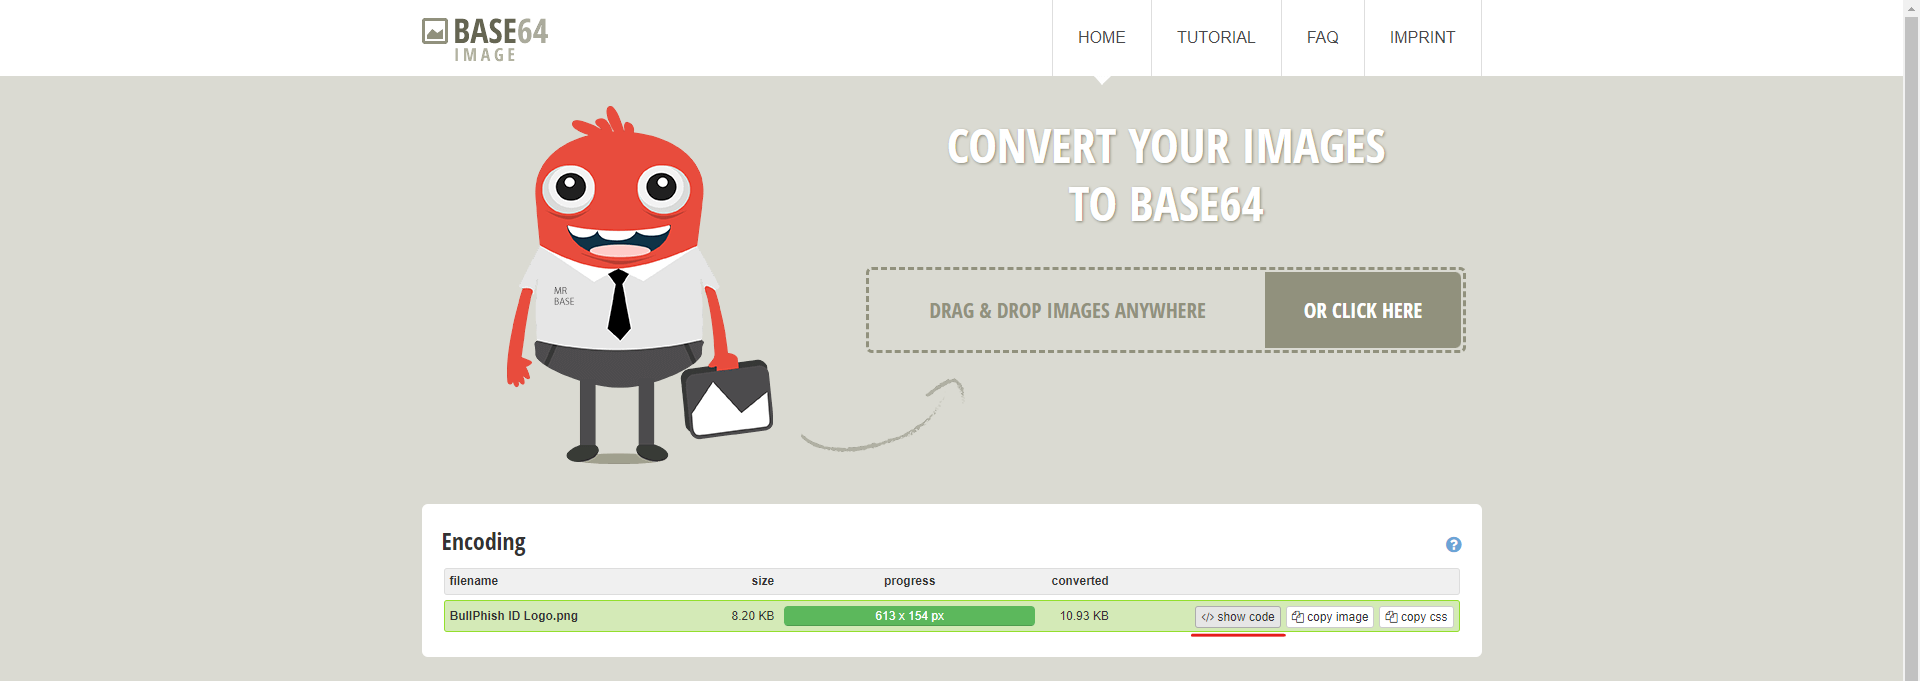
- The image will be encoded on a table on the bottom of the page, select the Show Code button.
- A modal will appear and copy the For use in <img> elements code.
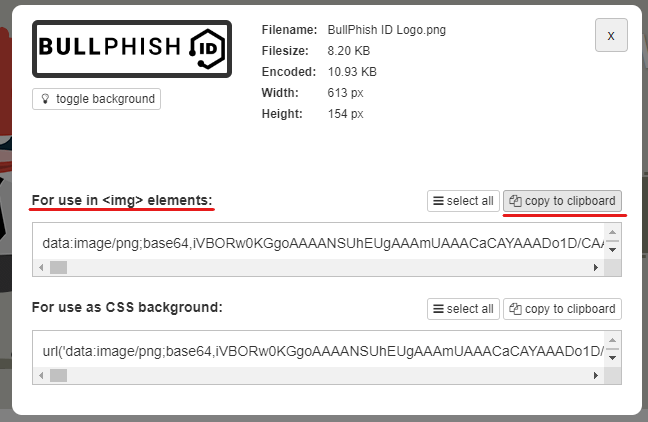
- After copying to clipboard. Go to your HTML template on BullPhish ID, select where you want your logo to appear, and then click the image icon in the left navigation panel.
- A modal will appear. Paste what you previously copied in the URL field.
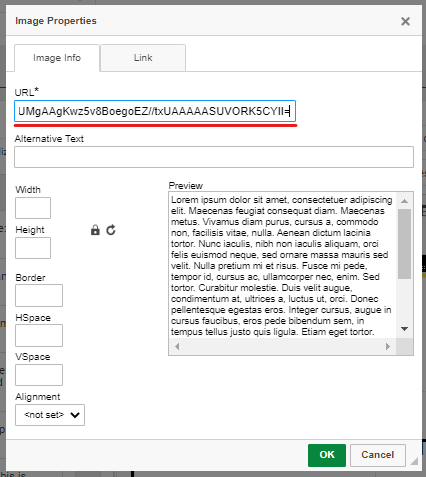
- Select OK.