Integrating with Passly
NOTE A video tutorial is available at the end of this article.
Directory sync allows you to integrate your BullPhish ID client organization with Passly Active Directory to import targets and groups. Imported groups and targets are automatically synchronized with Passly Active Directory to keep group information up to date in BullPhish ID.
This integration allows BullPhish ID to sync targets from Passly Active Directory, making it easy to manage phishing and training campaigns.
Integrating BullPhish ID with an organization's Passly Active Directory involves three main steps:
- Configuring Passly Active Directory.
- Syncing BullPhish ID with Passly.
- Syncing the desired groups in BullPhish ID.
Prerequisites
- Only partner administrators can configure the integration.
- You must have access to both BullPhish ID and Passly accounts.
How to...
- Go to your Passly account. Fill in the credentials and click Log in.
- Navigate to the left panel, click Integration Manager and select BullPhish ID.

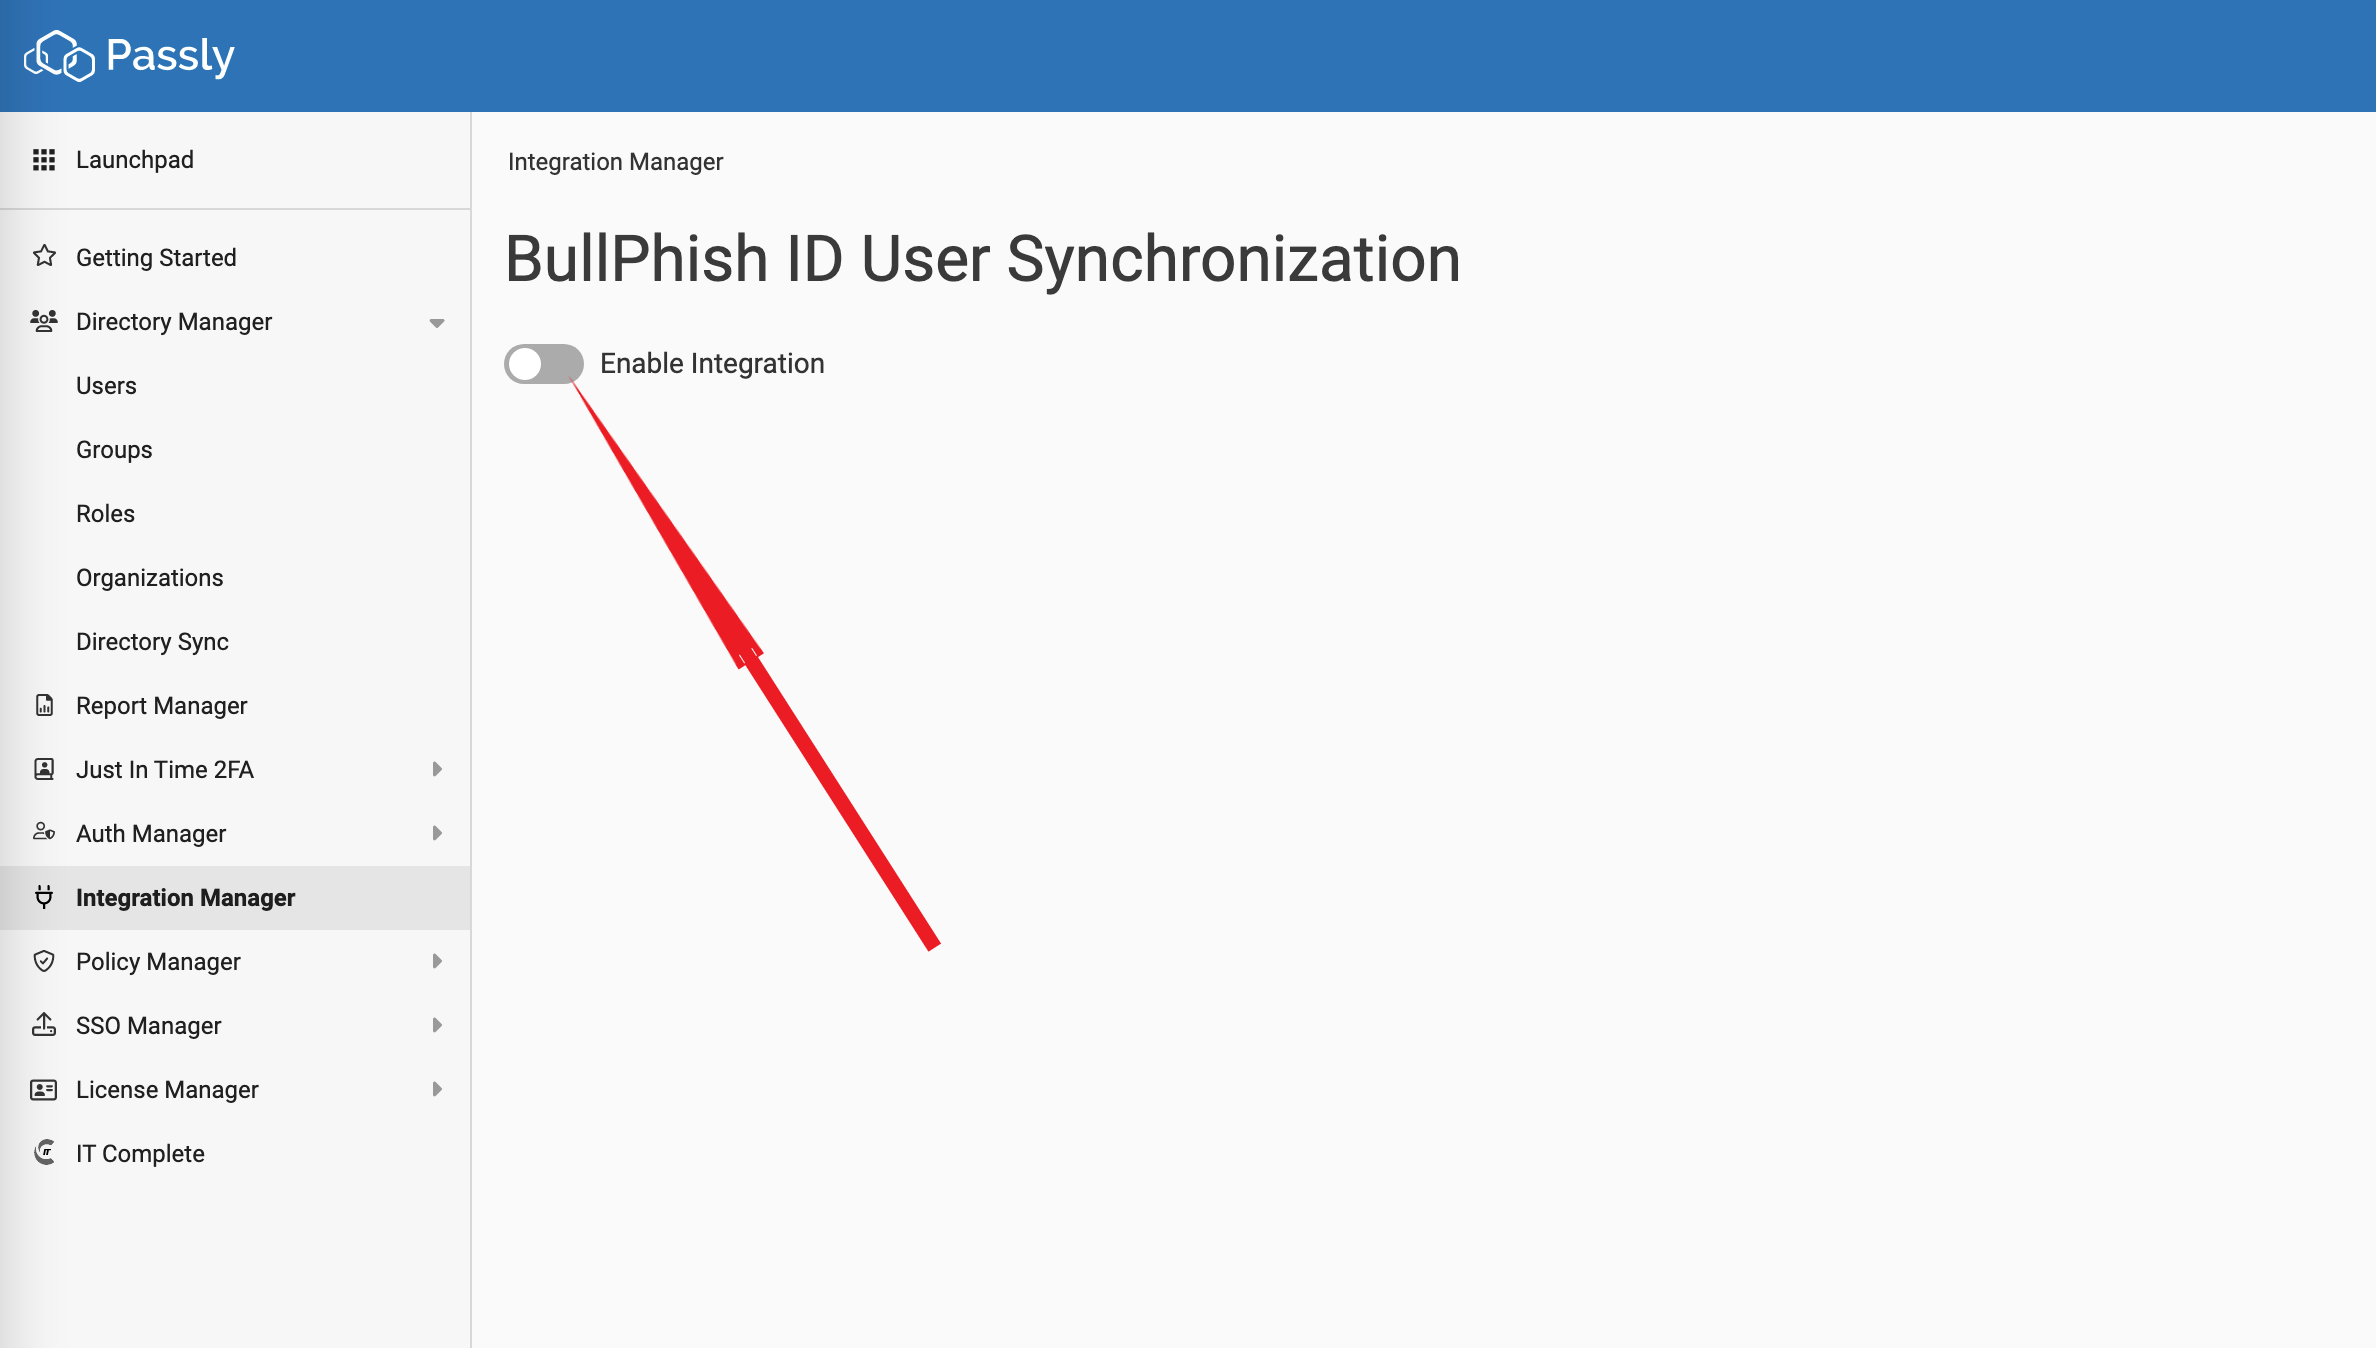
- Turn the Enable Integration toggle to enable integration with BullPhish ID.
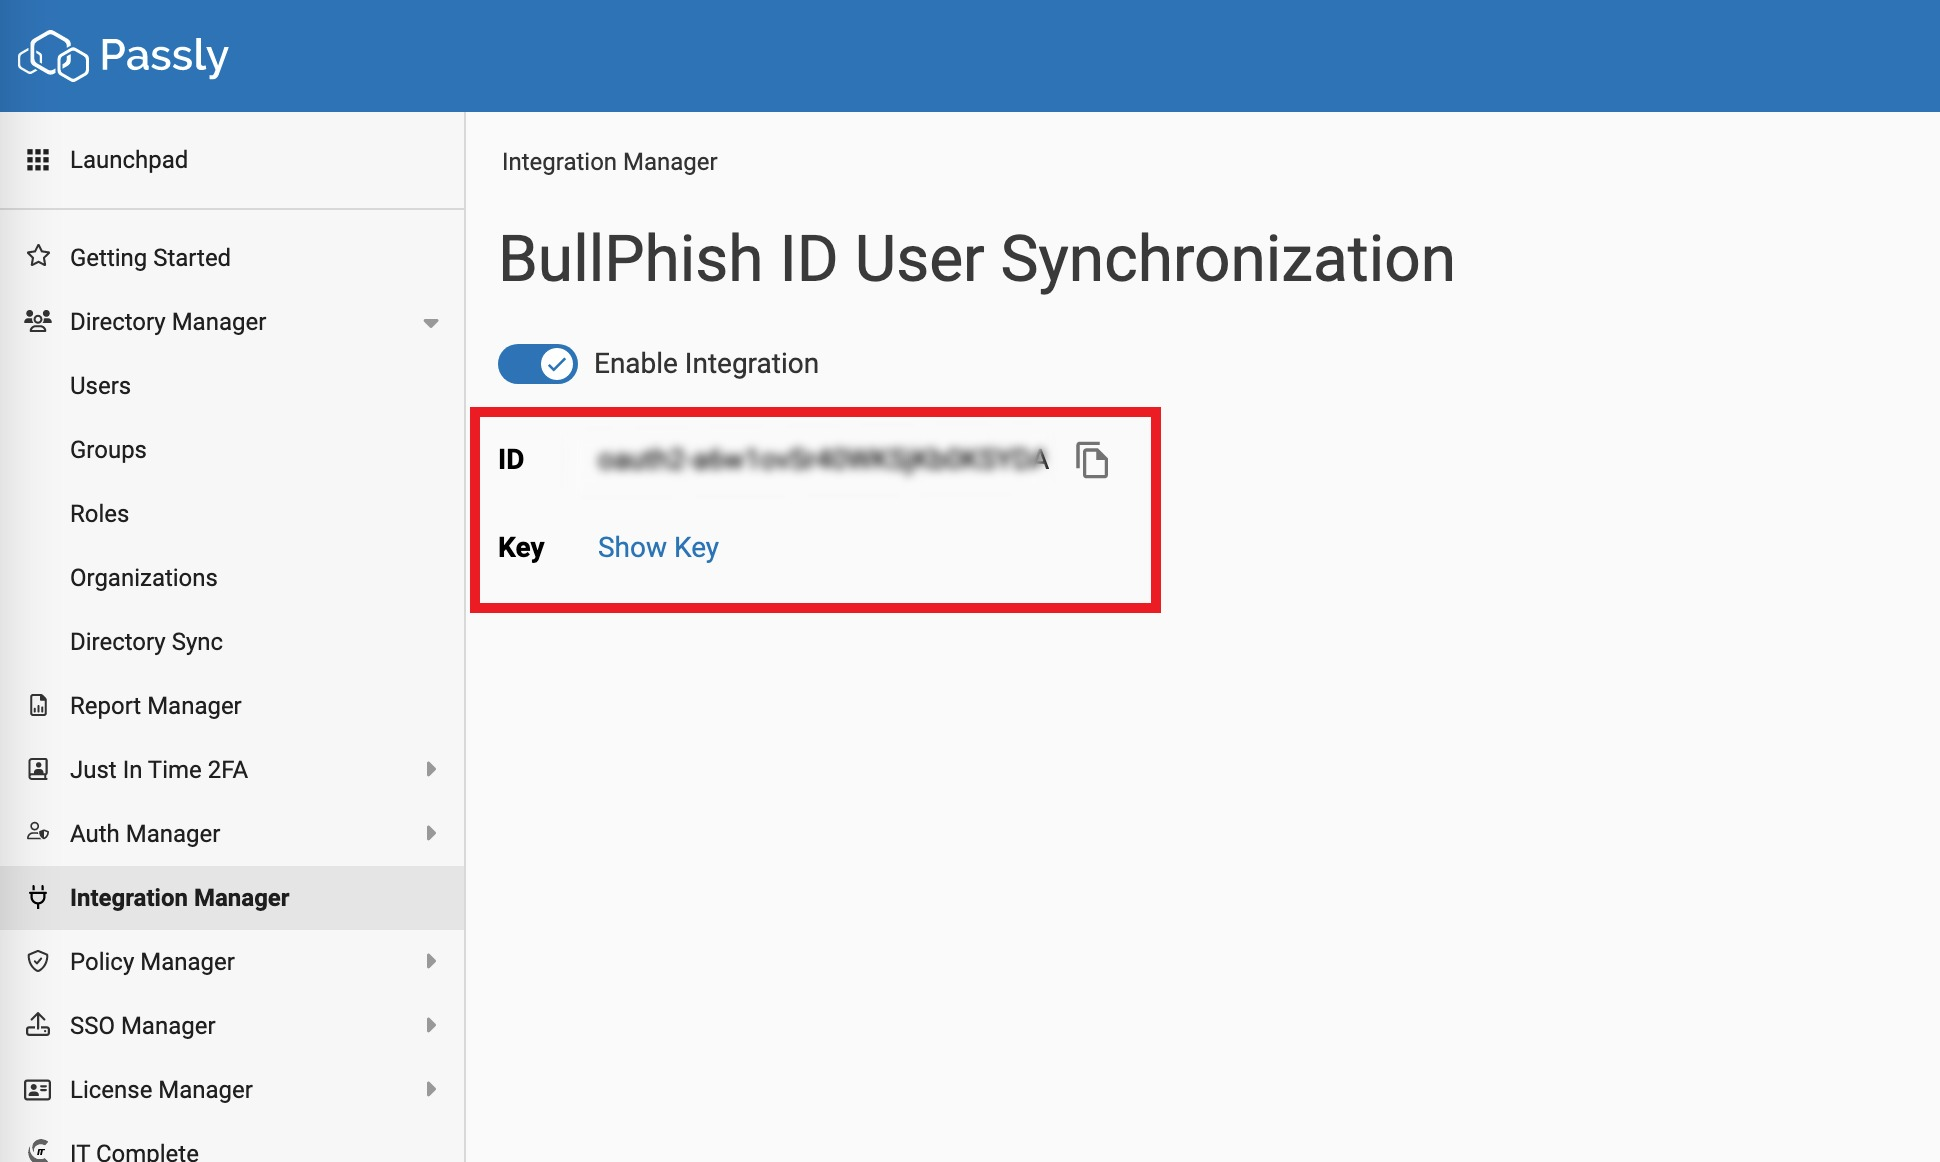
- Once you enable integration, you will see ID and Key. Click Show Key and copy both the ID and Key from the BullPhish ID User Synchronization page.
IMPORTANT The Key is only visible and should be safely recorded or used, as it will not be retrievable later. 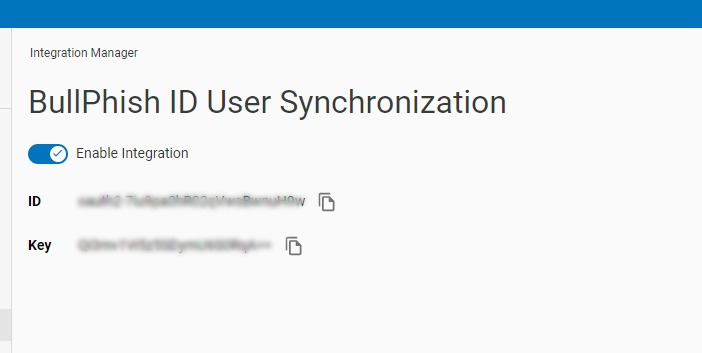
To sync BullPhish ID with Passly, you will use account information that was created when you completed the procedures above.
- Log into BullPhish ID.
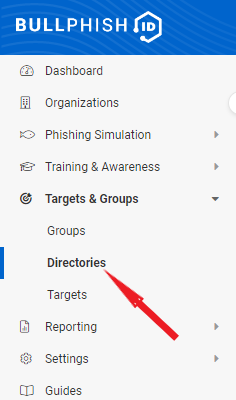
- In the navigation menu, select Targets & Groups > Directories.
- In the upper-right corner, click + Add Directory Sync.
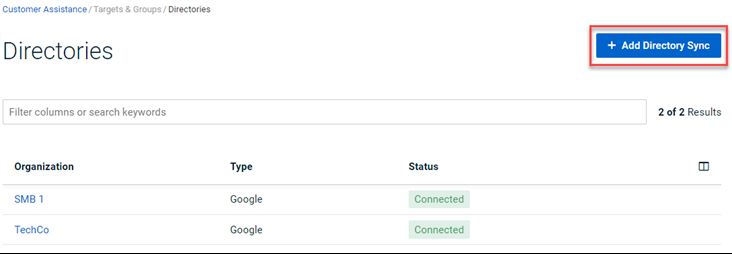
- In the Add Directory Sync modal, complete the following:
- Organization: Select the applicable organization.
- Directory Type: Select Passly.
- Host: Created when configuring Passly Active Directory.
- Domain: Created when configuring Passly Active Directory.
- ID: Created when configuring Passly Active Directory.
- Key: Created when configuring Passly Active Directory.
- Directory Sync Preference: Select an option for handling targets in BullPhish ID after they have been deleted from Passly.
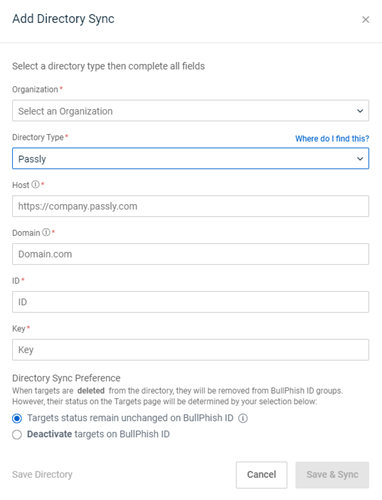
- Do one of the following:
- Click Save.
- Click Save & Sync. The sync is executed and the Edit Directory page for the organization is displayed.
Now you are ready to import and sync groups or targets from Passly Active Directory. Refer to the article, Syncing groups and targets.
Tutorial: How to setup Passly Integration
| Revision | Date posted |
| Syncing BullPhish ID with Passly - Step 4: Updated Directory Sync Pref screenshot. | 12/4/23 |
|
Added tutorial video. |
8/23/24 |


