Syncing contacts - IT Glue
This article describes the methods for pulling in an organization's IT Glue users, or contacts into BullPhish ID.
The main tasks you perform to enable contact syncing are indicating the types of contacts you want to sync and importing the contact information from IT Glue into BullPhish ID. There are two methods for importing contact information from IT Glue, one for organizations that are not yet synced and one for organizations that are already synced.
IMPORTANT:
- Before enabling contact sync with IT Glue, you must first setup the integration between BullPhish ID and IT Glue. To learn more about enabling the integration, view the article Integrating with IT Glue.
- When selecting Organization Statuses, Organization Types, and Contacts to sync with IT Glue, a maximum of 200 can be selected for each type.
- Updates made directly in IT Glue involving organizations, organization types, organization statuses, and contact types will appear in BullPhish ID within one minute.
Selecting the contacts to be synced
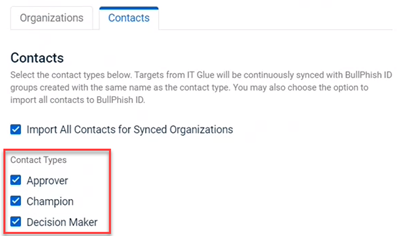
To sync IT Glue contacts with BullPhish ID, first you select the Contact Type(s) you would like to sync. Each Contact Type(s) selected will be continuously synced to a group with the same name in BullPhish ID. The contacts within each Contact Type(s) are created and synced within their corresponding BullPhish ID group.
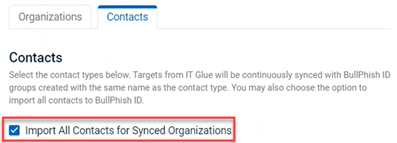
You may also import all contacts from IT Glue which creates an All Contacts group in BullPhish ID.
Add From IT Glue
You can enable syncing of organizations and contacts at the same time using the Add from IT Glue option.
Syncing contacts for Organizations already imported
This section applies to organizations that are already synced or if contact types were not selected when syncing the organization. A domain must be defined for each organization before syncing contacts.
IMPORTANT You must select the contacts to be synced before performing this procedure. See the section Selecting the contacts to be synced.
How to...
- Log into your BullPhish ID portal.
- In the navigation pane, select Settings > Integrations.
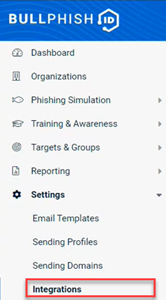
- In the Integrations table, click IT Glue.
- In the upper-right corner, click Sync Settings.

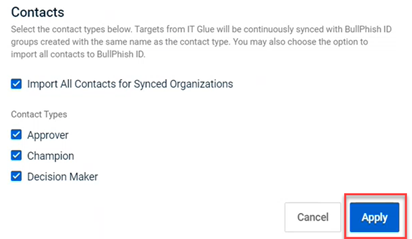
- In the IT Glue Sync Settings modal, click the Contacts tab.
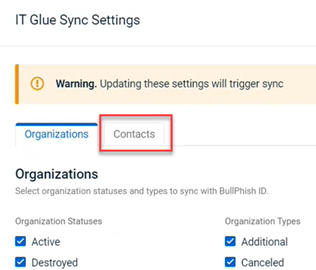
- If you want to import all contacts from IT Glue, select the Import All Contacts for Synced Organizations check box.
- If you want to import specific Contact Types, select the check box for each Contact Type desired.
- Click Apply.
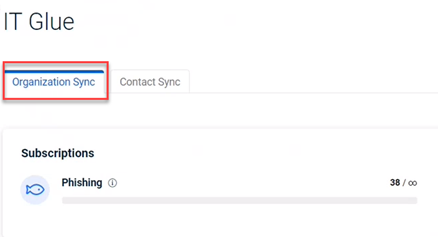
- On the Integrations > IT Glue page, click the Organization Sync tab.
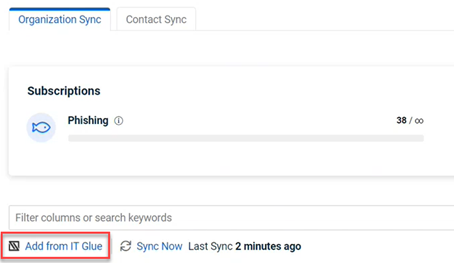
- Click Add from IT Glue.
- A modal is displayed with the question Do you want to sync contacts?

Yes is automatically chosen if contact types are selected on the Contacts tab. No is selected if there are not any contacts types selected on the Contacts tab.- If No is selected and you try to select Yes, a message is displayed conveying: "Contact types must be enabled via Sync Settings before contacts can be synced."
- If Yes is selected but you don't want to sync contacts at this time, select No.
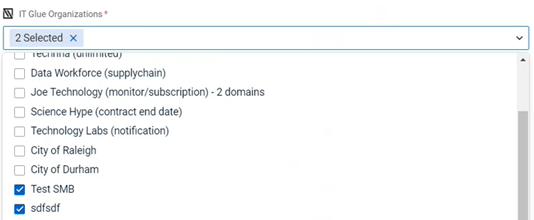
- In the IT Glue Organizations list, select the check box for each IT Glue organization you want to sync with BullPhish ID.
- For each organization, enter the Domain.

Important: A domain must be defined for each organization before syncing contacts. - Click Add. A status message indicates the import is in progress and another conveys that the Organizations & Contacts sync is in progress.

- Navigate to the last page in the Organizations sync table.
- A new Bullphish organization with same name as the IT Glue organization has been created.

- To activate phishing and training for the organization, click the respective toggles.

- Click the Status toggle to activate the organization.

- Click Save.
- Click the Contact Sync tab.
- Review the following for the new linked organization:
- Status: Active
- Contacts Synced: Displays the number of contacts that are synced. Click the number to navigate to the Targets page and review each contact's information.
- Groups Created: Displays the number of groups created for the linked organization. Click the number to navigate to the Groups page and review information for each group.
- Last Sync: Date and time the last sync occurred.
- Contact Sync: Enabled

- On the Integrations > IT Glue page, click the Contact Sync tab.
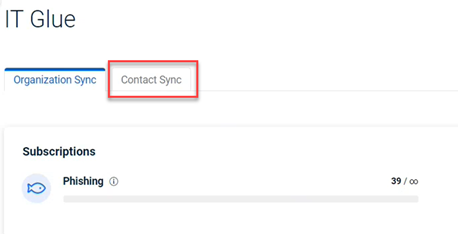
- For the applicable organization, in the Domain box, enter a domain.

- Click the Contact Sync toggle to enable contact sync.

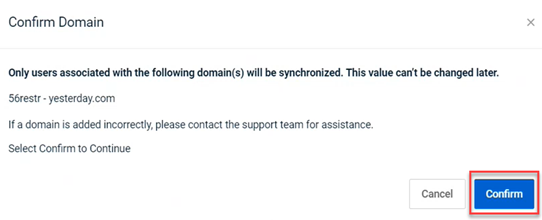
- Click Save. A modal is displayed indicating only users associated with the listed domains will be synchronized. The domain cannot be changed. Click Confirm.
Directories page
The Directories page lists organizations that have enabled a directory sync. The source of each organization's target data is listed in the Type column. The Status column indicates the organization sync status.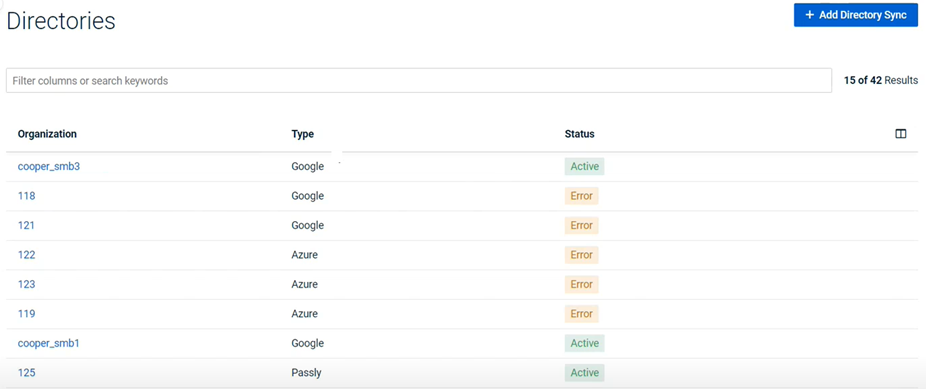
IMPORTANT Only one contact data source can be synced to an organization. If you attempt to enable IT Glue Contact Sync for an organization that is currently using a different contact directory, like Azure or Google, a modal displays conveying that enabling IT Glue Contact Sync will remove the current directory sync for the organizations listed.


