
Setting up a custom training portal
BullPhish ID enables you to customize your organization's Training Portal to enhance the user experience. The Training Portal Administration page includes the following tabs you can use to customize your Training Portal:
- Training Portal
- User Login
- Email Templates
- Quiz Settings

MSP/MME and SMB configuration relationship
Configurations selected by an MSP/MME organization on the Training Portal Administration page are inherited by the organization's SMBs. However, configurations can be set at the SMB level which override the MSP/MME level configurations.
In this example, configurations set for the Customer Assistance organization are inherited by its EH and SMB 1 SMB organizations. Configurations set at the EH and SMB 1 SMB levels will override the Customer Assistance configurations.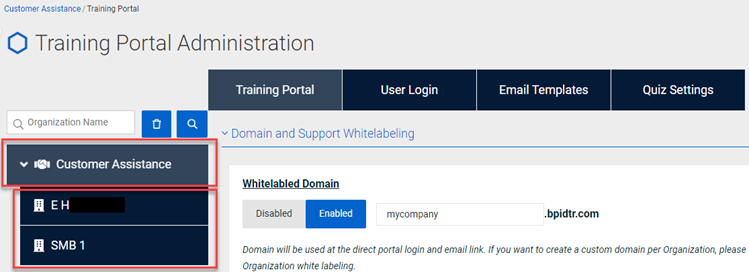
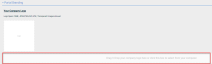
On the Training Portal tab, you can create a custom whitelabled domain and support URL or support email for your organization. In addition, you can select the language (English is the default) in which your portal is presented, select a white portal background instead of using the default, and add your company logo to your Login Page and Portal Dashboard.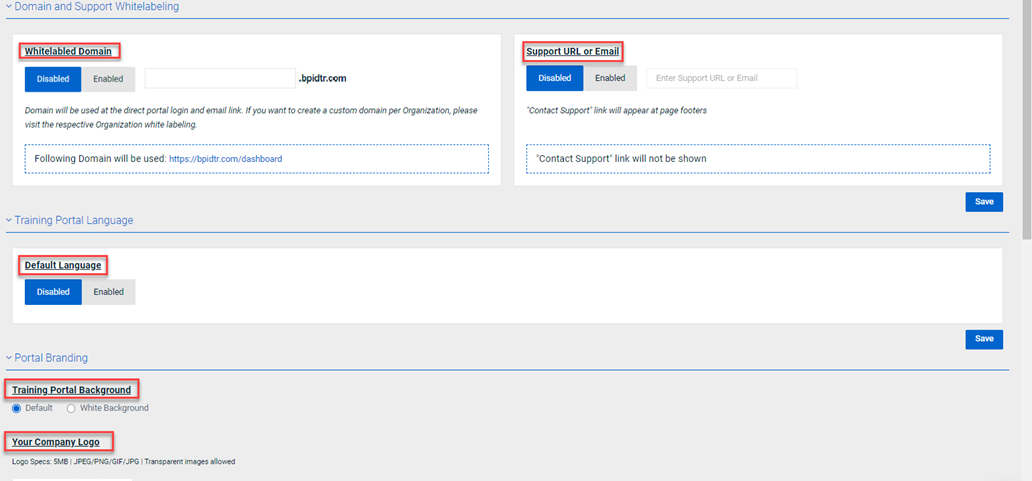
The default URL for the training portal is https://bpidtr.com/dashboard. You can create a unique domain that is specific to your organization by enabling the Whitelabled Domain option.
In this example, mycompany is entered for the domain. The custom URL is https://mycompany.bpidtr.com/dashboard. This is the URL address mycompany's employees will use to access the organization's training portal.
Set options on the Training Portal tab
- In the navigation menu, select Training & Awareness > Training Portal.
- Click the Training Portal tab.

- To create a unique domain name for your training portal:
- In the Whitelabled Domain section, click Enabled.

- In the Whitelabled Domain box, enter the name of your domain.

- In the Whitelabled Domain section, click Enabled.
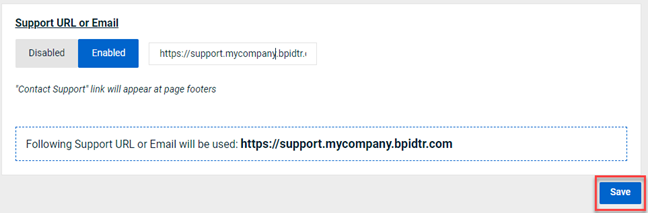
- To create a support URL or email:
- In the Support URL or Email section, click Enabled.
- Complete the Enter Support URL or Email box.
- Below the Support URL or Email section, click Save. This saves the selections made in the Whitelabled Domain and Support URL or Email sections.


IMPORTANT To enable the Training Portal Language and Portal Branding options, the Whitelabled Domain section must be completed and saved.
- To select French as the default language for your training portal (English is selected by default):
- In the Training Portal Language section, click Enabled.
- In the Default Language list, select Francais.
Note: Currently, only English and French are available to select as the default language. - Click Save.
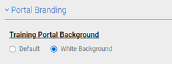
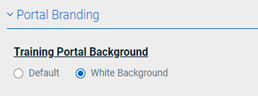
- To select white as your Training Portal Background: In the Portal Branding section, under the Training Portal Background heading, select the White Background option.
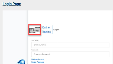
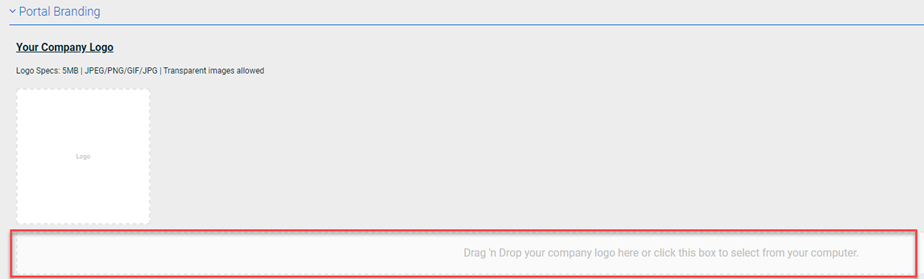
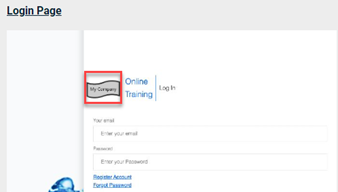
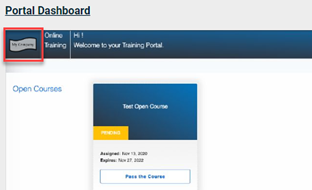
- To add your company logo to your Training Portal Login Page and Portal Dashboard:
- Drag-and-drop the logo to the box indicated. Or, click the box to upload the logo.
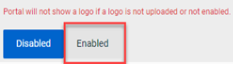
- Click Enabled. This is required for the logo to be displayed on the appropriate pages.
- You can preview the logo on the Login Page and Portal Dashboard.
- Click Save.
- Drag-and-drop the logo to the box indicated. Or, click the box to upload the logo.

On the User Login tab, you can select either Passwordless Login (enabled by default) or Traditional Login.
Passwordless Login
Passwordless Login allows targets to access your training portal without having to enter login credentials. When a target clicks the training email invitation link, the target is automatically redirected to the Training Portal Dashboard and can proceed to complete the training course.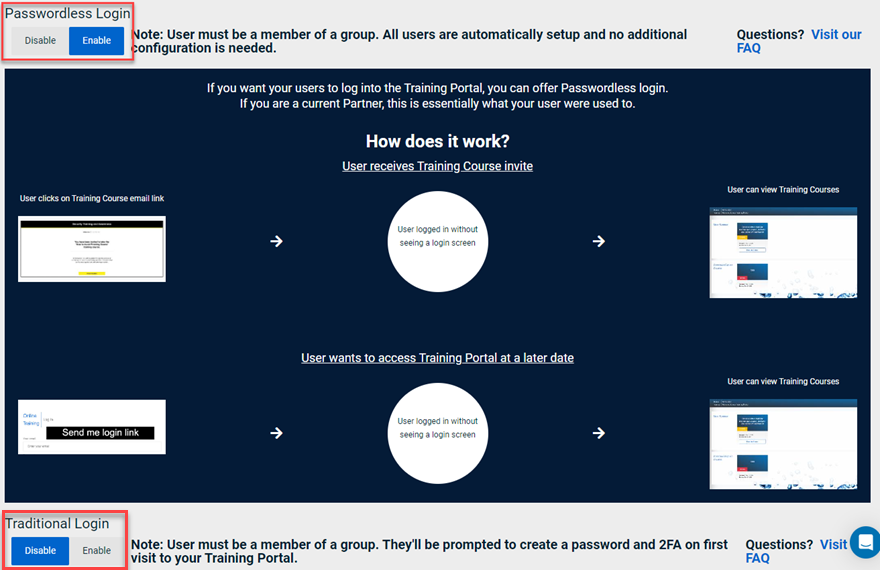
Traditional Login
Traditional Login requires targets to provide login credentials in order to be granted access to your training portal. As part of enabling the Traditional Login option, you can require the target to provide two-factor authentication (2FA).
When a target clicks the training email invitation link, the target is prompted to register upon the first portal visit. This includes creating a unique password. If you required 2FA, the target is prompted to configure that as well. For each successive login, targets are required to enter their email address, password, and 2FA code.
Note: If you enable the Traditional Login option, Passwordless Login is automatically disabled.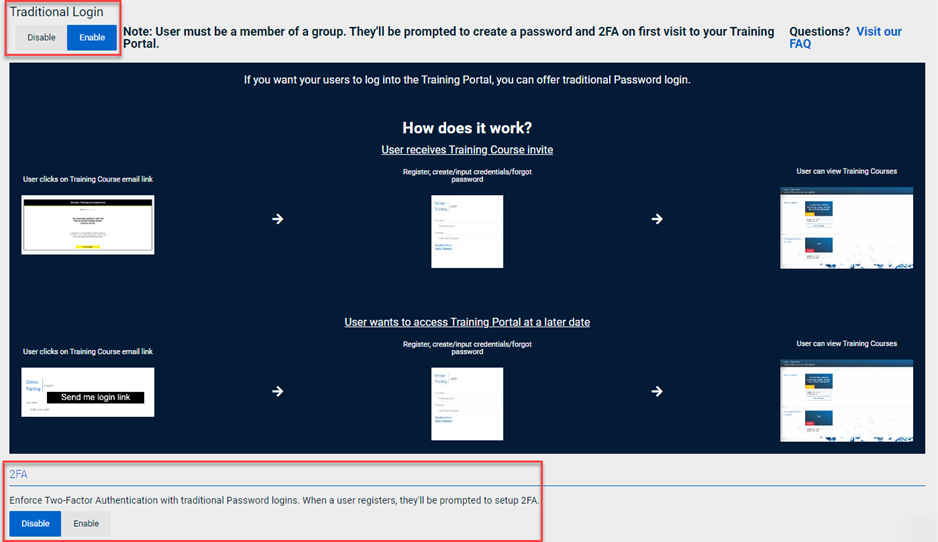
NOTE Regardless of whether the Passwordless Login option or Traditional Login option is enabled, a target must be a member of a group to access the training portal.
Send me login link
Instead of clicking the training email invitation link, a target may access the training portal directly in a web browser by entering the address of the portal's login page. When doing so, if Passwordless login is enabled for the target's organization, the target is required to enter the target's email address and click the Send me login link button.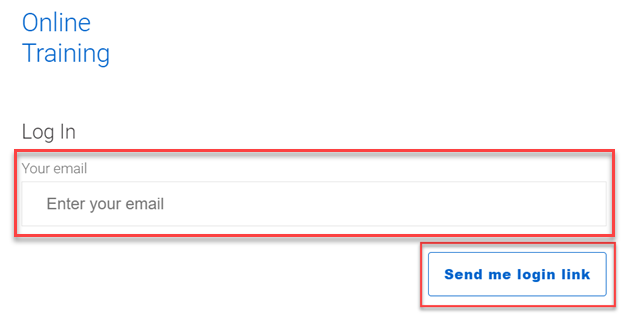
The target will receive an email with a link to the training portal. This is required to identify the specific target that is accessing the portal.
Enable the Traditional Login option
- In the navigation menu, select Training & Awareness > Training Portal.
- Click the User Login tab.

- In the Traditional Login section, click Enable.


NOTE Passwordless Login is automatically disabled.
- To require two-factor authentication, in the 2FA section, click Enable.

- In the bottom-right corner, click Save.

NOTE While you can customize existing training email templates on the Email Templates tab, additional functionality is provided on the Settings > Email Templatespage. On the Email Templatespage, it is easier to specify whether a customized template is available globally or is available to a specific SMB only. Additionally, it is more convenient to create a new template on this page. For more information, see the article Creating a custom email template.
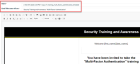
A user receives an email invitation for each training course to which the user has been assigned. On the Email Templates tab, you can customize the training course invitation.
The default email template (below) consists of a generic message and can be used for any training course.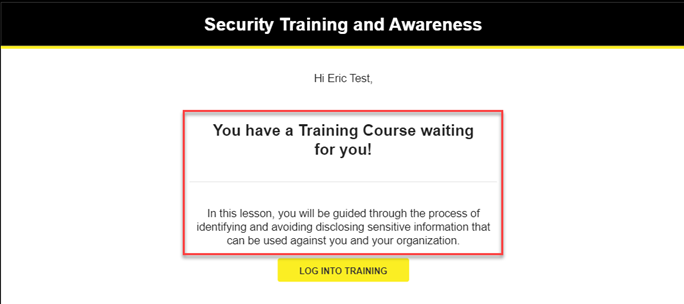
Or, you can use a template that is specific to the course being assigned. In this example, the clean desk policy template was used to generate this specific training course email.
BullPhish ID provides pre-existing global templates from which you can choose or you can choose a custom template previously created by your organization.
All pre-existing and custom templates include a link to the training portal. This link is required for users to access the training portal from within the email. In this example, Begin Training is the link to the training portal. 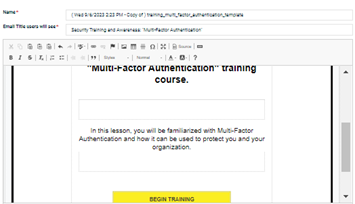
Select an email template
- In the navigation menu, select Training & Awareness > Training Portal.
- Click the Email Templates tab.

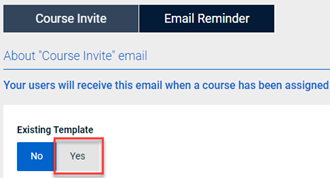
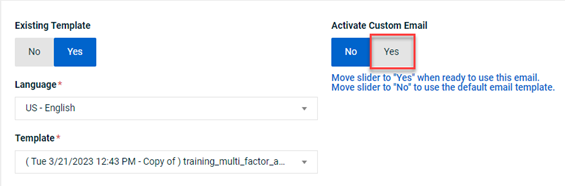
- For the Existing Template option, click Yes.

- In the Language list, select the applicable language.
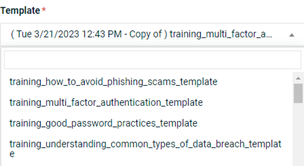
- In the Template list, select the desired template.
- For the Activate Custom Email option, click Yes. If you don't click Yes, the default email template will continue to be used.

- If desired, edit the (template) Name and/or the Email Title users will see fields.
- In the body of the email, make any desired edits.


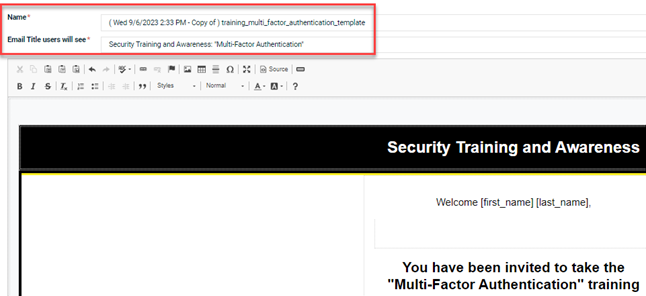

IMPORTANT Do not delete the link to the training portal (this is the Begin Training link in the example).
If you want to create a new link, see the article Creating a custom email template. In the section Create a new email template, step 6 describes how to create a text link and step 7 describes how to create a button link.
- If you want to send a test email, go to step 11. Otherwise, in the bottom-right corner, click Save.
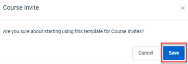
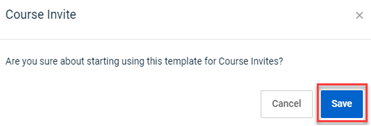
- In the Course Invite confirmation modal, click Save.
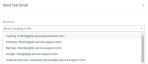
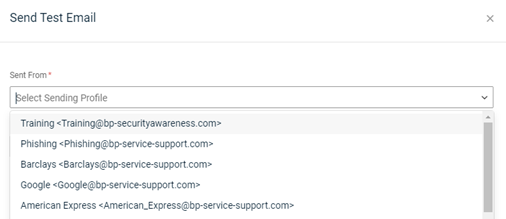
- To send a test email:
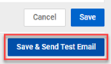
- In the bottom-right corner, click Save & Send Test Email.
- In the Course Invite confirmation modal, click Save.

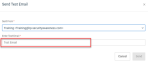
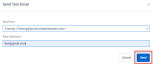
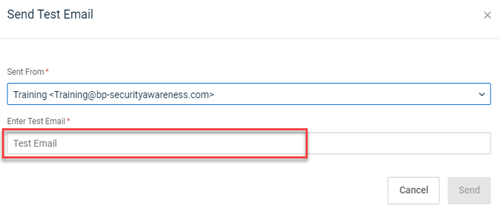
- In the Sent From list, select a Sending Profile.
- In the Enter Test Email box, enter the test recipient's email address.
- Click Send.
- In the bottom-right corner, click Save & Send Test Email.


You can set quiz scoring criteria and the attempt limit on the Quiz Settings tab.
Set Scoring Criteria
- In the navigation menu, select Training & Awareness > Training Portal.
- Click the Quiz Settings tab.

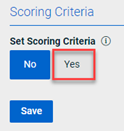
- For the Set Scoring Criteria option, click Yes.

- Drag the slider to the minimum percentage required to pass the quiz. In this example, 70% or above is required to pass the quiz.


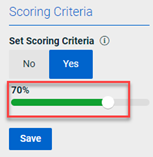
NOTE Hover over the information icon to display the list of percentages based on the number of correct answers.
- Click Save.
Attempt Limit
By default, a user can take a course quiz just once. But, you can set the maximum number of times a user can take a course quiz after failing the quiz. Or, you can allow unlimited attempts. Selecting this option allows a user to take the quiz as many times as desired until they pass.
When changing the attempt limit, the change applies to only active and future courses. Completed courses are not affected.
NOTE To allow users to retake the quiz for a completed course, you can recreate the campaign or create a new campaign for the desired users.
Set the Attempt Limit
- In the navigation menu, select Training & Awareness > Training Portal.
- Click the Quiz Settings tab.

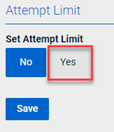
- For the Set Attempt Limit option, click Yes.

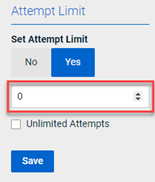
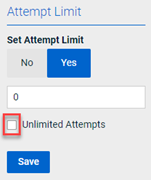
- To allow a specific number of attempts, in the Attempt Limit box, do one of the following:
- Select the current value and enter a new value.
- Click the Up or Down arrow to the desired value.

- To allow the user to take the quiz as many times as desired, select the Unlimited Attempts check box.

- Click Save.

| Revision | Date |
| All content updated. | 9/6/23 |
|
Email Templates tab: Step 8 - Added to Important - for info on creating text/button links, see the article Chapter 10: Centralized Email Templates. |
3/14/24 |
|
Training Portal tab: Added Training Portal Background section info. |
4/3/24 |


