What are the different ways to add targets to BullPhish ID?
In BullPhish ID there are three ways to add targets to the platform. This article describes the different ways to do so.
Adding targets through BullPhish ID
Adding targets natively through BullPhish ID is the first method. You do so by selecting either Targets or Groups in the navigation pane.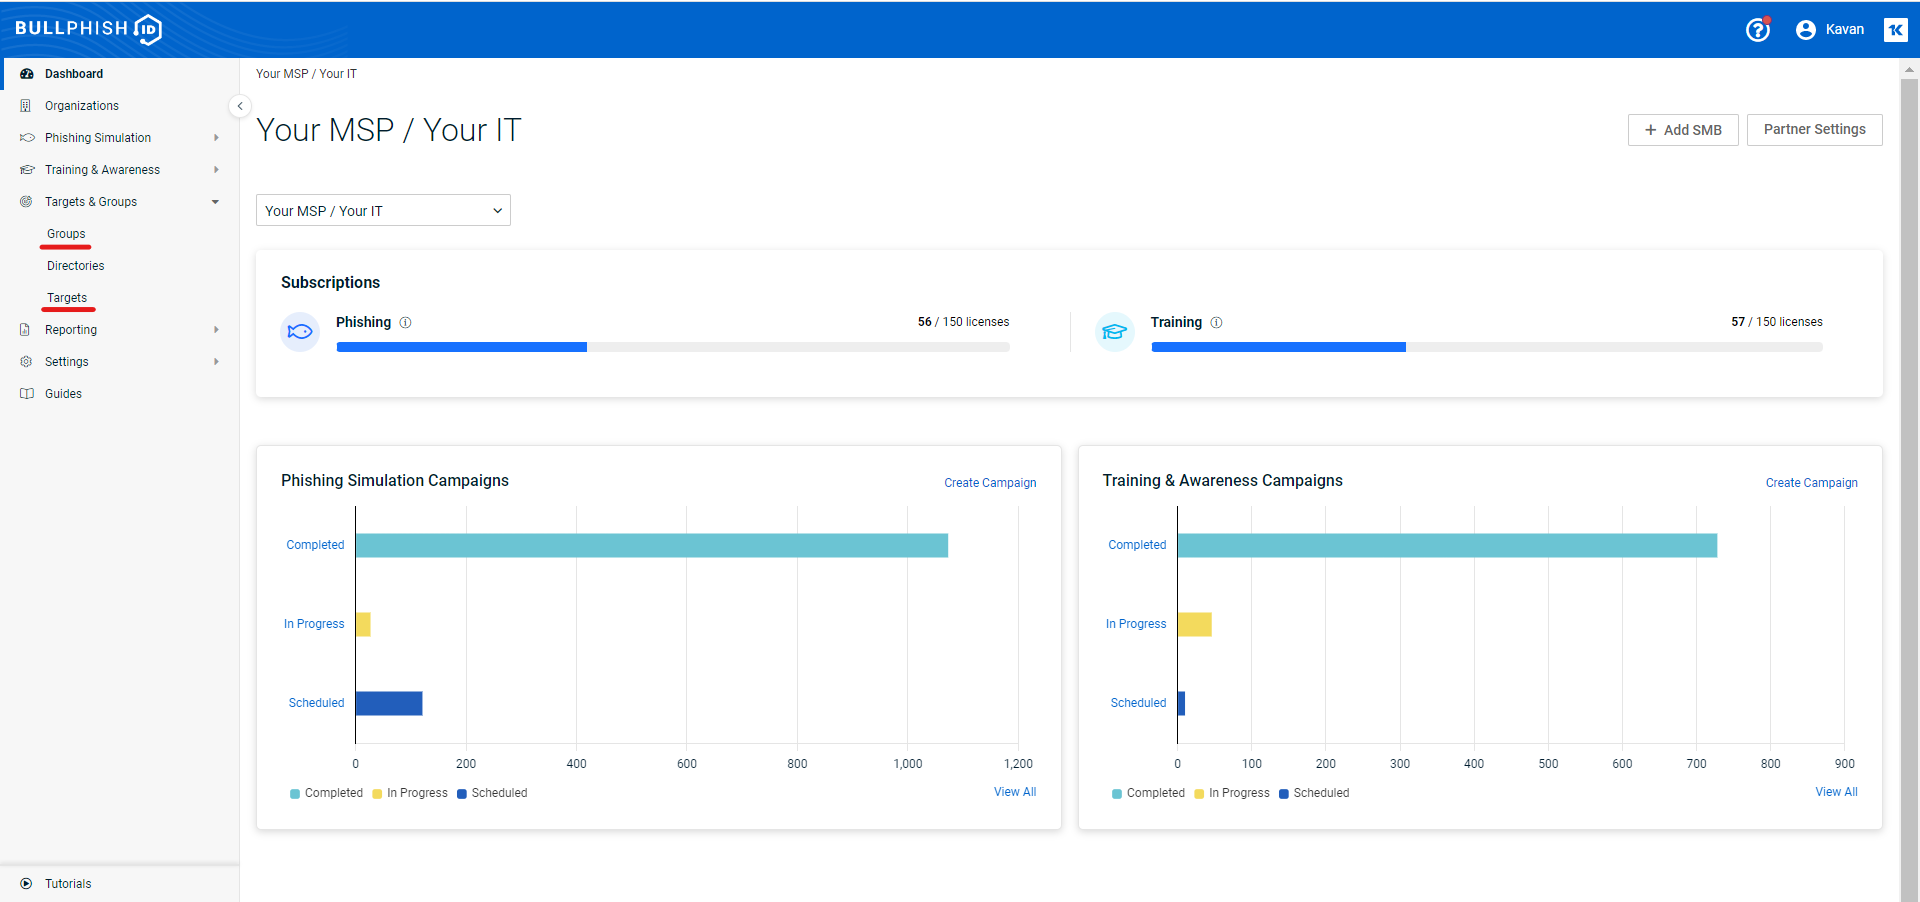
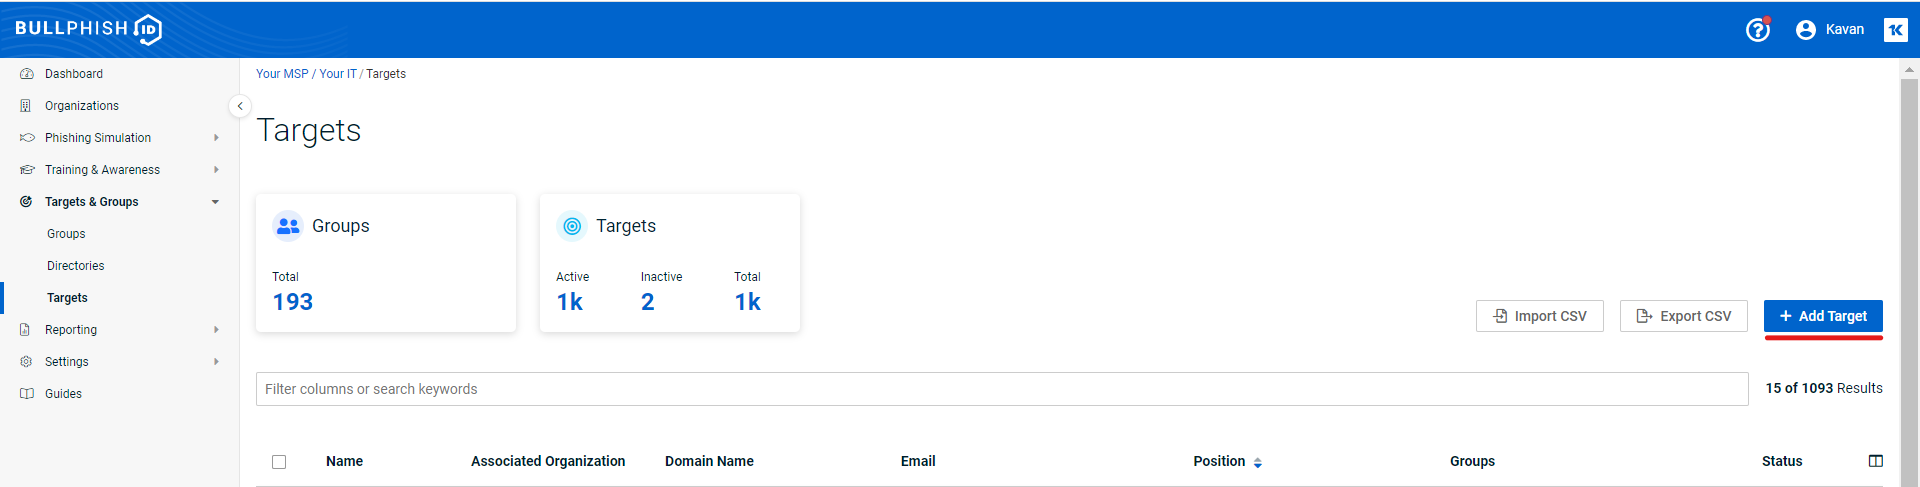
Adding targets through the Targets page
- On the Targets page, click the +Add Target button.
- The Add Target modal is displayed. Complete the following fields:
- Associated Organization: Select the organization to which the target belongs.
- First Name: Enter the target's first name.
- Last Name: Enter the target's last name.
- Email: Enter the email for which the campaigns, reports, etc. will be sent. It is highly recommended you add a work email address.
- Position: The target's position within the company.
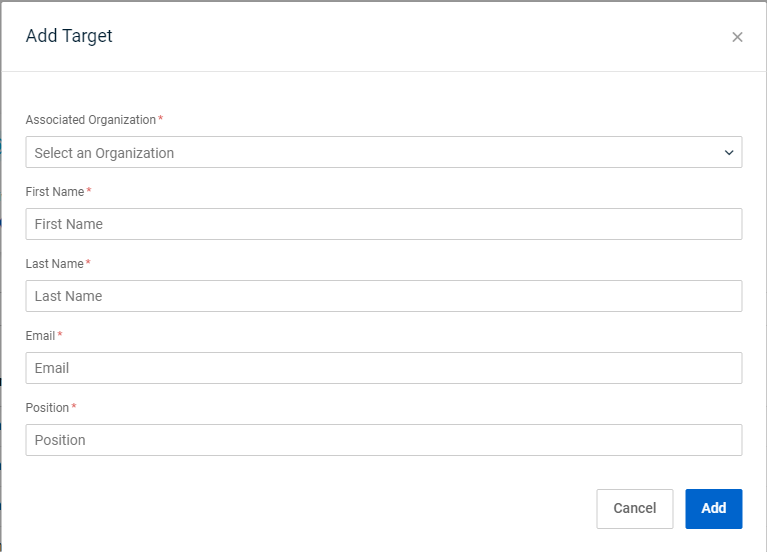
- Click the Add button. The new target is successfully added to the organization.
- To add targets in bulk for an organization, click the Import CSV button.
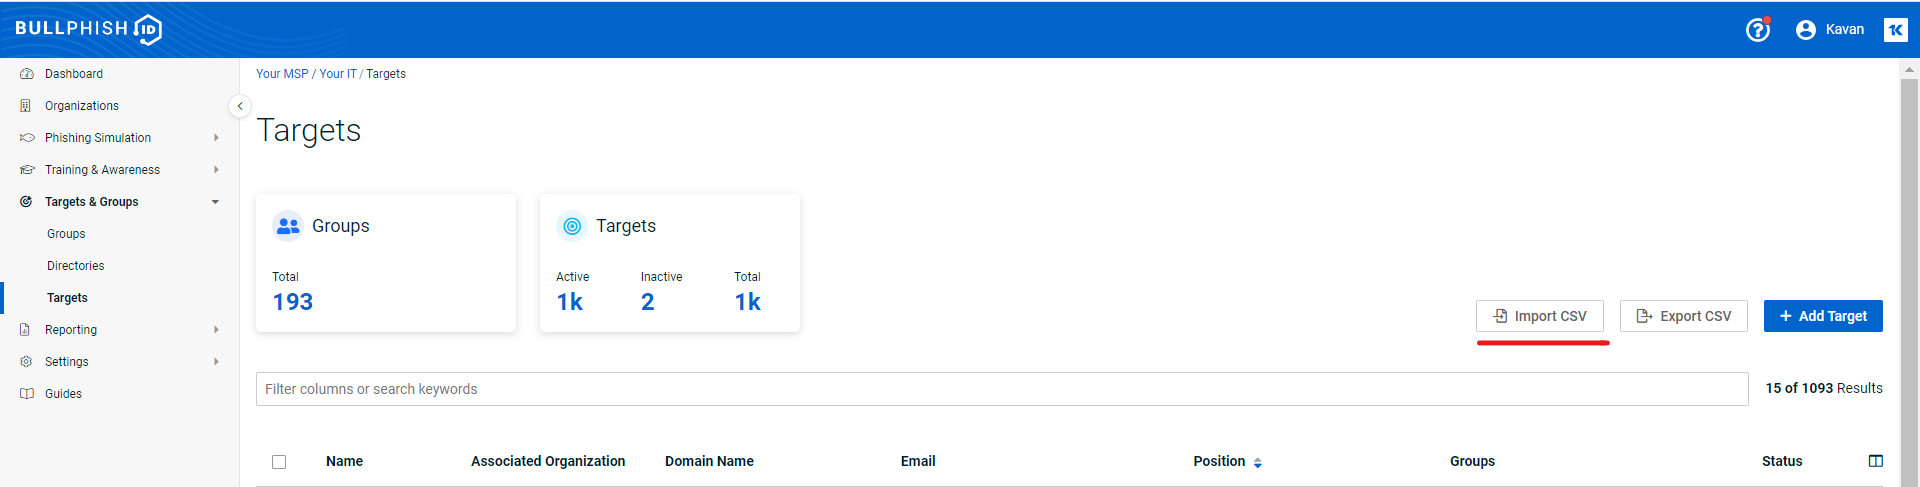
- The Import Targets modal is displayed. Complete the following fields:
- Associated Organization: Select the organization to which the target belongs.
- File: Drag and drop or upload the CSV file. The CSV file can include multiple target and must be formatted with First Name, Last Name, Email, and Position columns.
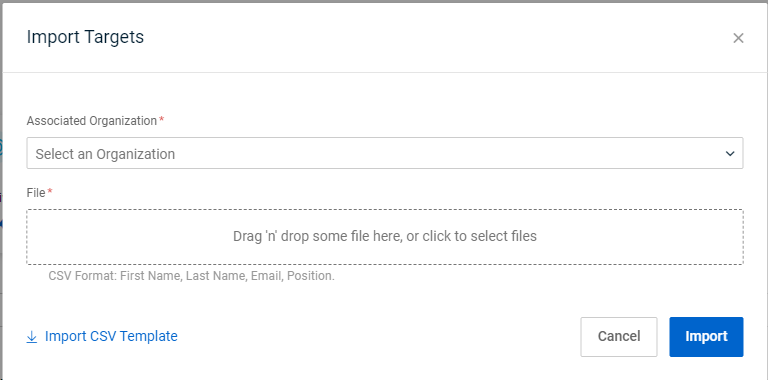
The Import CSV Template button allows you to download a template to create your CSV file.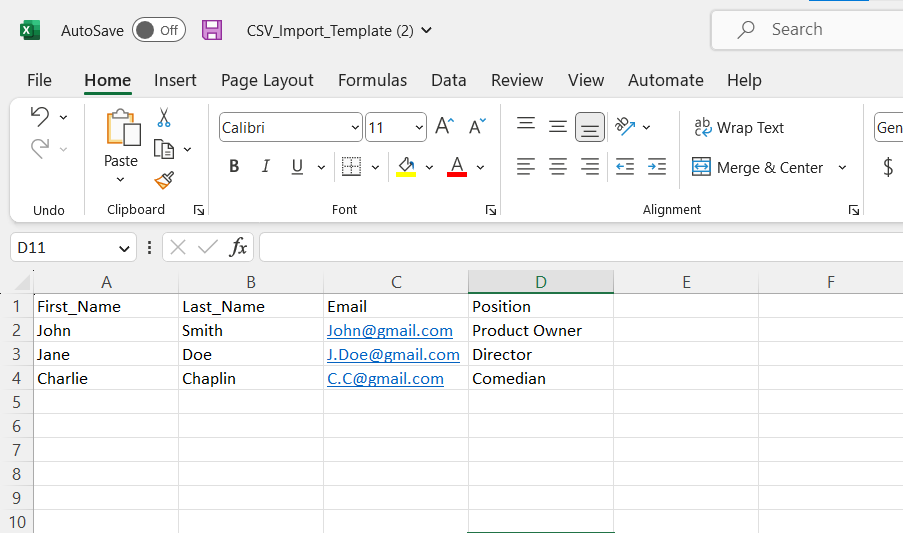
- Click Import.
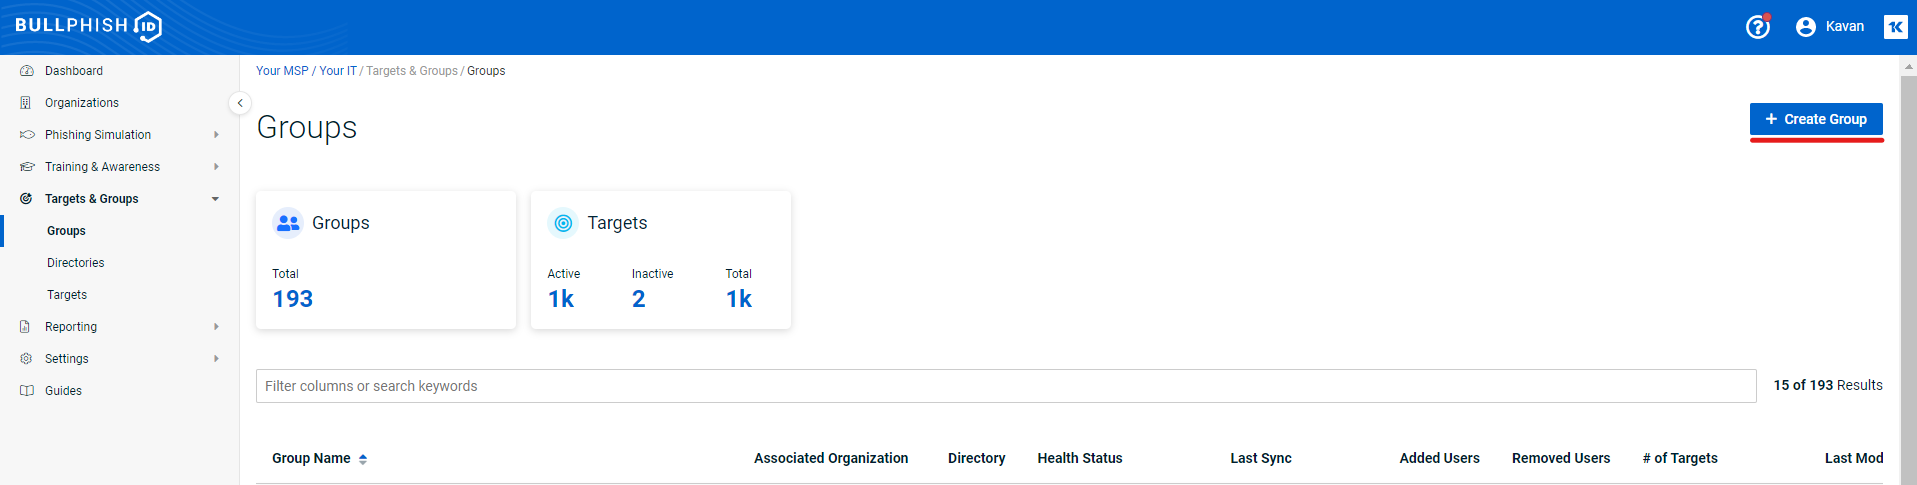
Adding Targets through the Groups Page
- On the Groups page, click the +Create Group button.
- The Create Group modal is displayed. Complete the following fields:
- Group Name: Enter a name for the group.
- Associated Organization: Select the organization to which the targets belong.
- Import CSV File: An optional field where similarly to Import Targets function, a CSV file can be uploaded with all the targets you want to add within the new group.
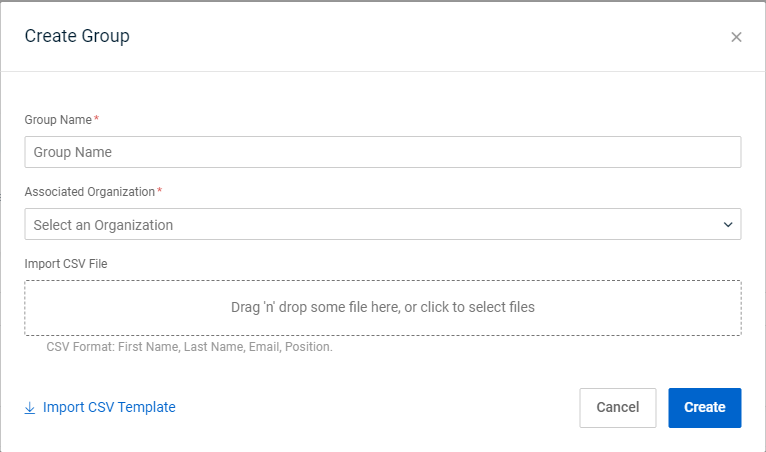
- Click Create.
Adding Targets through Directories
Adding Targets and Groups through the Directories page pulls from other services. These include Azure and Google.
NOTE Microsoft has renamed Microsoft Azure as Microsoft Entra ID.
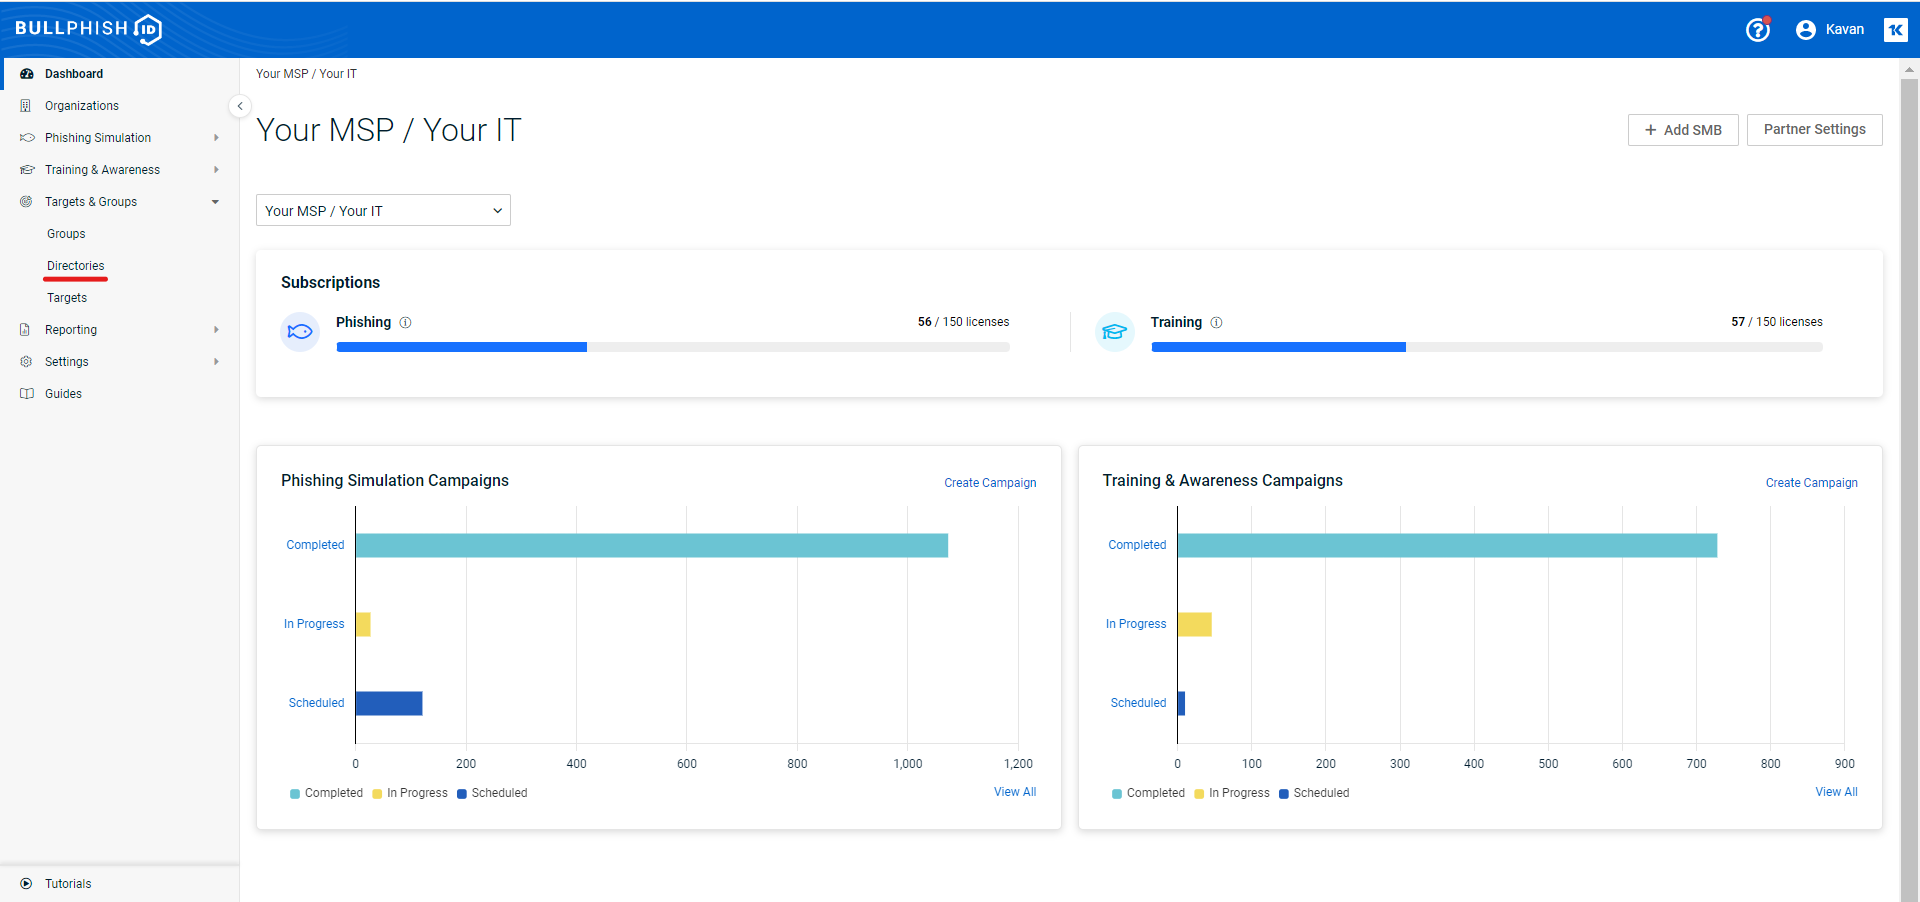
- In the navigation pane, select Directories.
- On the Directories page, click the +Add Directory Sync button.
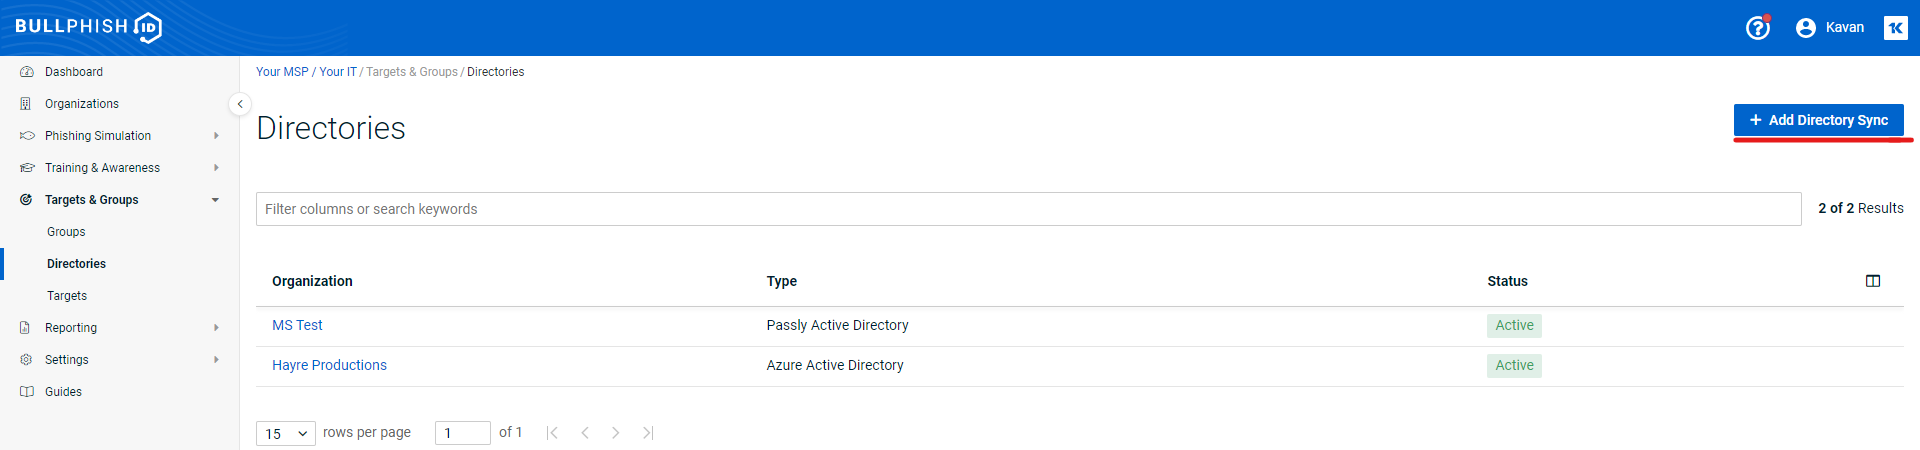
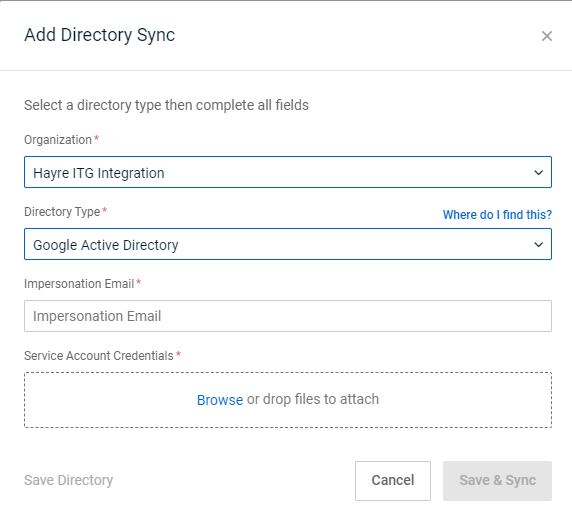
- A modal will appear with two fields, Organization and Directory Type. You can select the Azure or Google directory type.
- When selecting the Azure directory type, you will need to complete three fields, Tenant ID, Client ID, and Client Secret. To learn more about the Azure Active Directory and how to set up the directory sync, see the article Integrating with Microsoft Entra ID.

- When selecting the Google directory type, you will need to add two fields: Impersonation Email and Service Account Credentials. To learn more about how to set up the Google directory sync, see the article Integrating with Google Workspace.
- When selecting the Azure directory type, you will need to complete three fields, Tenant ID, Client ID, and Client Secret. To learn more about the Azure Active Directory and how to set up the directory sync, see the article Integrating with Microsoft Entra ID.
Once the corresponding fields have been filled in for your selected directory, select the Save & Sync button and you will be taken to the Edit Directory page for the organization. Here you can select the Groups radio button and choose groups created within the directory via drop down or select the Targets radio button and sync all targets that belong to the directory within a single group.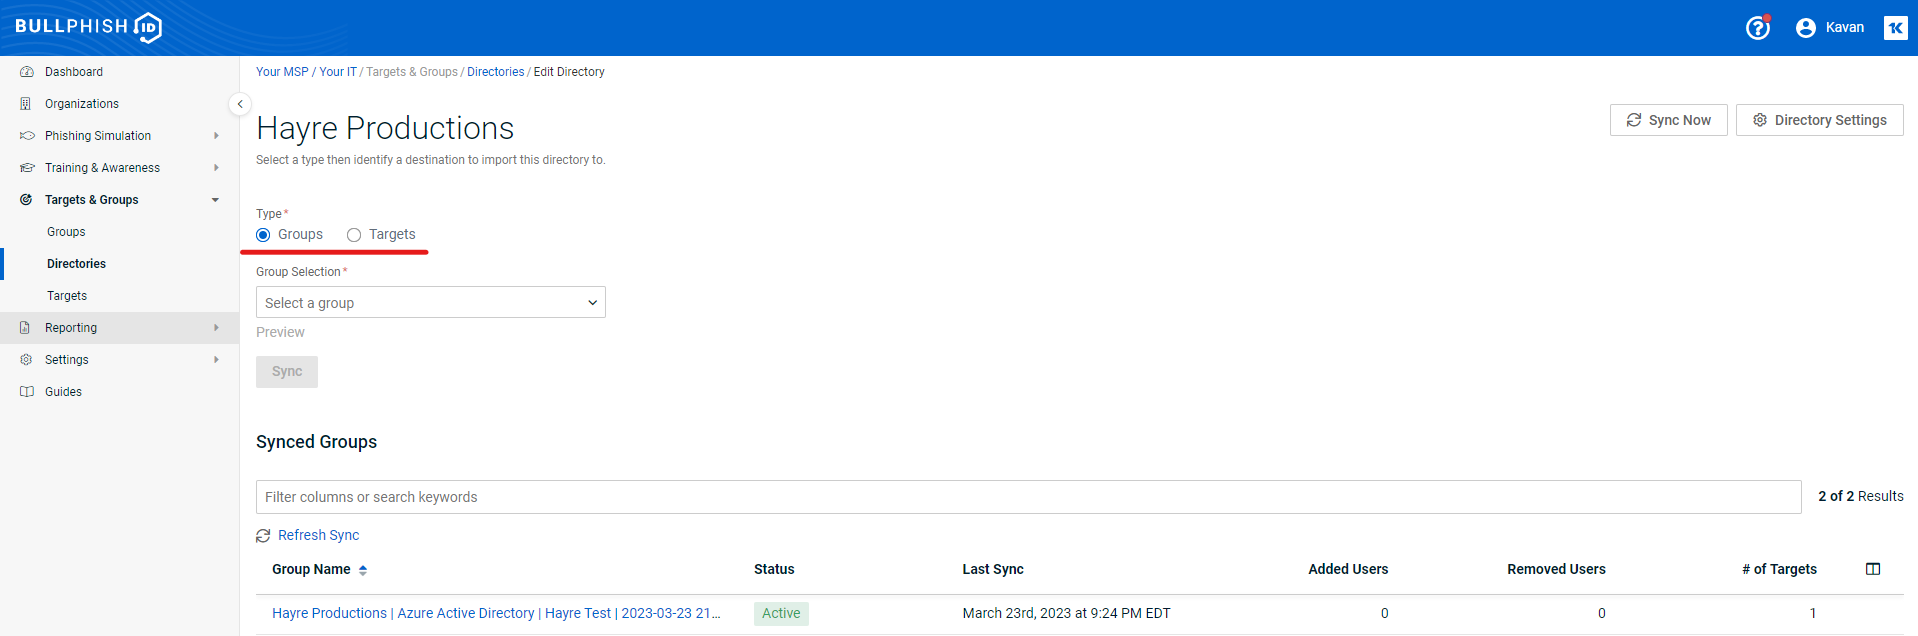
To learn more about the Directories page, see the article Adding a directory sync.
Adding Targets through IT Glue Integration
To learn about the IT Glue integration and how to set it up, see the article Integrating with IT Glue.
IMPORTANT Organizations must define a domain to sync contacts with BullPhish ID.
To begin the process of adding targets through IT Glue select the Sync Settings button on the IT Glue Integrationpage. 
After the Organization Statuses and Organizations Types have been selected, select the Contacts.
The Contacts tab allows user to select contact types that will be synced as groups on BullPhish ID. Targets within those groups will be synced from IT Glue if they correspond with the contact type. You may also choose the option to import all contacts from IT Glue to BullPhish ID within a group.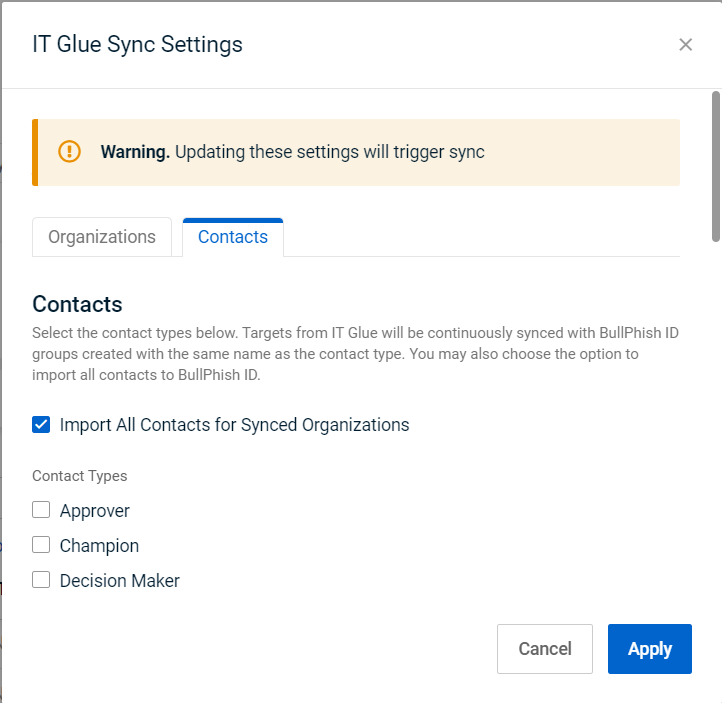
There are two methods to set a successful Contact Sync:
Add From IT Glue
The Add From IT Glue modal has been updated with a new field, Do You Want to Sync Contacts? with the Yes button being automatically selected when Contact types have been established in the Sync Settings modal. Otherwise, No will automatically be selected.
After selecting organizations, you must define a domain to enable the contact sync with IT Glue.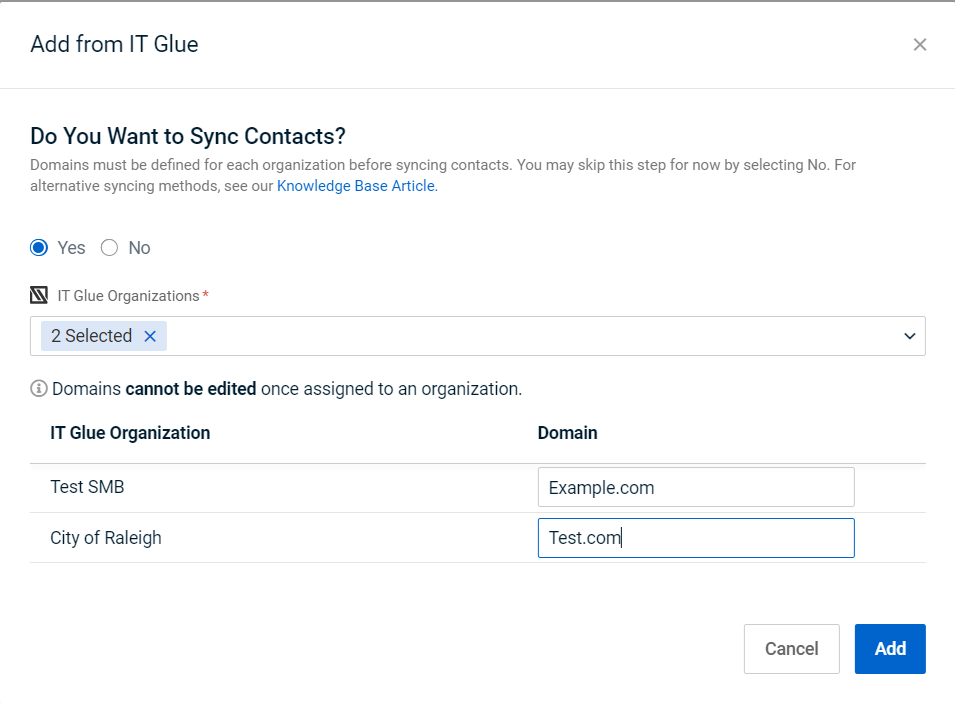
Once you have added the organizations, enable the status on Organization Sync table.
Contact Sync Tab
The second method to add contacts to BullPhish ID through IT Glue is with the Contact Sync tab. Here you can define a domain for your selected linked organizations followed by enabling Contact Sync and saving.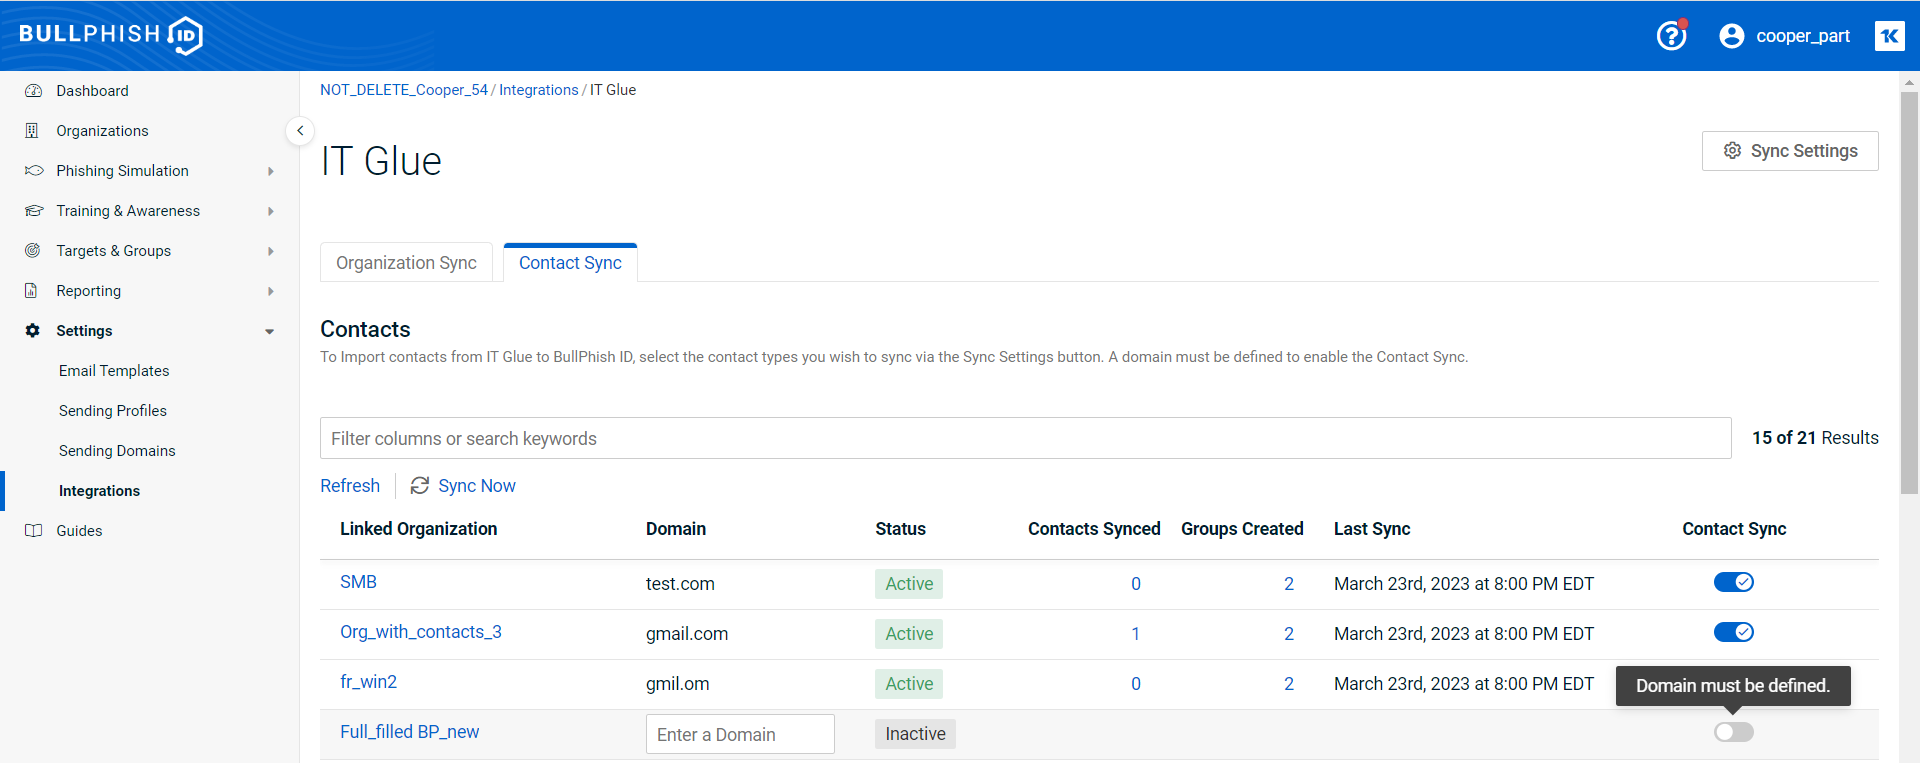
To learn more about the IT Glue Contact Sync Update, see the article Syncing contacts - IT Glue
| Revision | Date |
|---|---|
| Removed all references to Passly. | 1/16/26 |


